How to post a painting
The Marhaba Arts Etsy shop is shaping up nicely (still bits and pieces missing, but most of the important stuff is there). Qusay asked me to take a commission, which is ethically tricky because I’m a volunteer… but I don’t think Qusay is the type to efficiently run a shop, so my organisational skills are going to be useful for far longer than our official mentorship 6 months. I agreed to take 5% (the standard is 10-20%). And I’m doing a LOT to earn that. I’ve spent the last three days figuring out how to post a painting interstate. There’s a lot of specialised material involved, so I’m going to blog about it for those who find this kind of obscure knowledge fascinating. Almost all my knowledge is from the UPS.
Qusay uses acrylic paint on stretched canvas (on a wooden frame) in a wide range of sizes.

Step 1: Gather Your materials
The stuff you probably have:
Scissors
Tape Measure (unless you’re super confident of your ability to measure by eye)
The stuff you probably don’t have (and where I bought them):
Glassine/Acid Free Paper $2.95 per sheet (Eckersley’s Art Shop)
Painter’s Tape $8:90 per roll (up to half a roll per painting I reckon; Bunnings)
Cardboard Corner Protectors (Couldn’t find them so bought a small box for $1.80 and made them with box cutters and special Painter’s Packing Tape.. yes, there was blood)
Bubble Wrap $20 for a giant roll. I used half of it for a single A2ish size painting and could easily have used the whole roll. Bunnings.
Foam ($6.95 A3 size; $8.95 A2 size; $10.95 for A1 size OUCH) Eckersley’s Art Shop
Outer Box, should be bought new, $4.00
Painter’s Packing Tape: $1.70 per roll; I used about half a roll.
‘FRAGILE’ stickers, $3.40 for a pack of 50 (I used one each for front and back)
Possibly:
Corrugated cardboard 0.5cm x 64cm x 90cm $3:95 (I reckon I’ll use THAT instead of foam in future, especially for the back of the paintings).

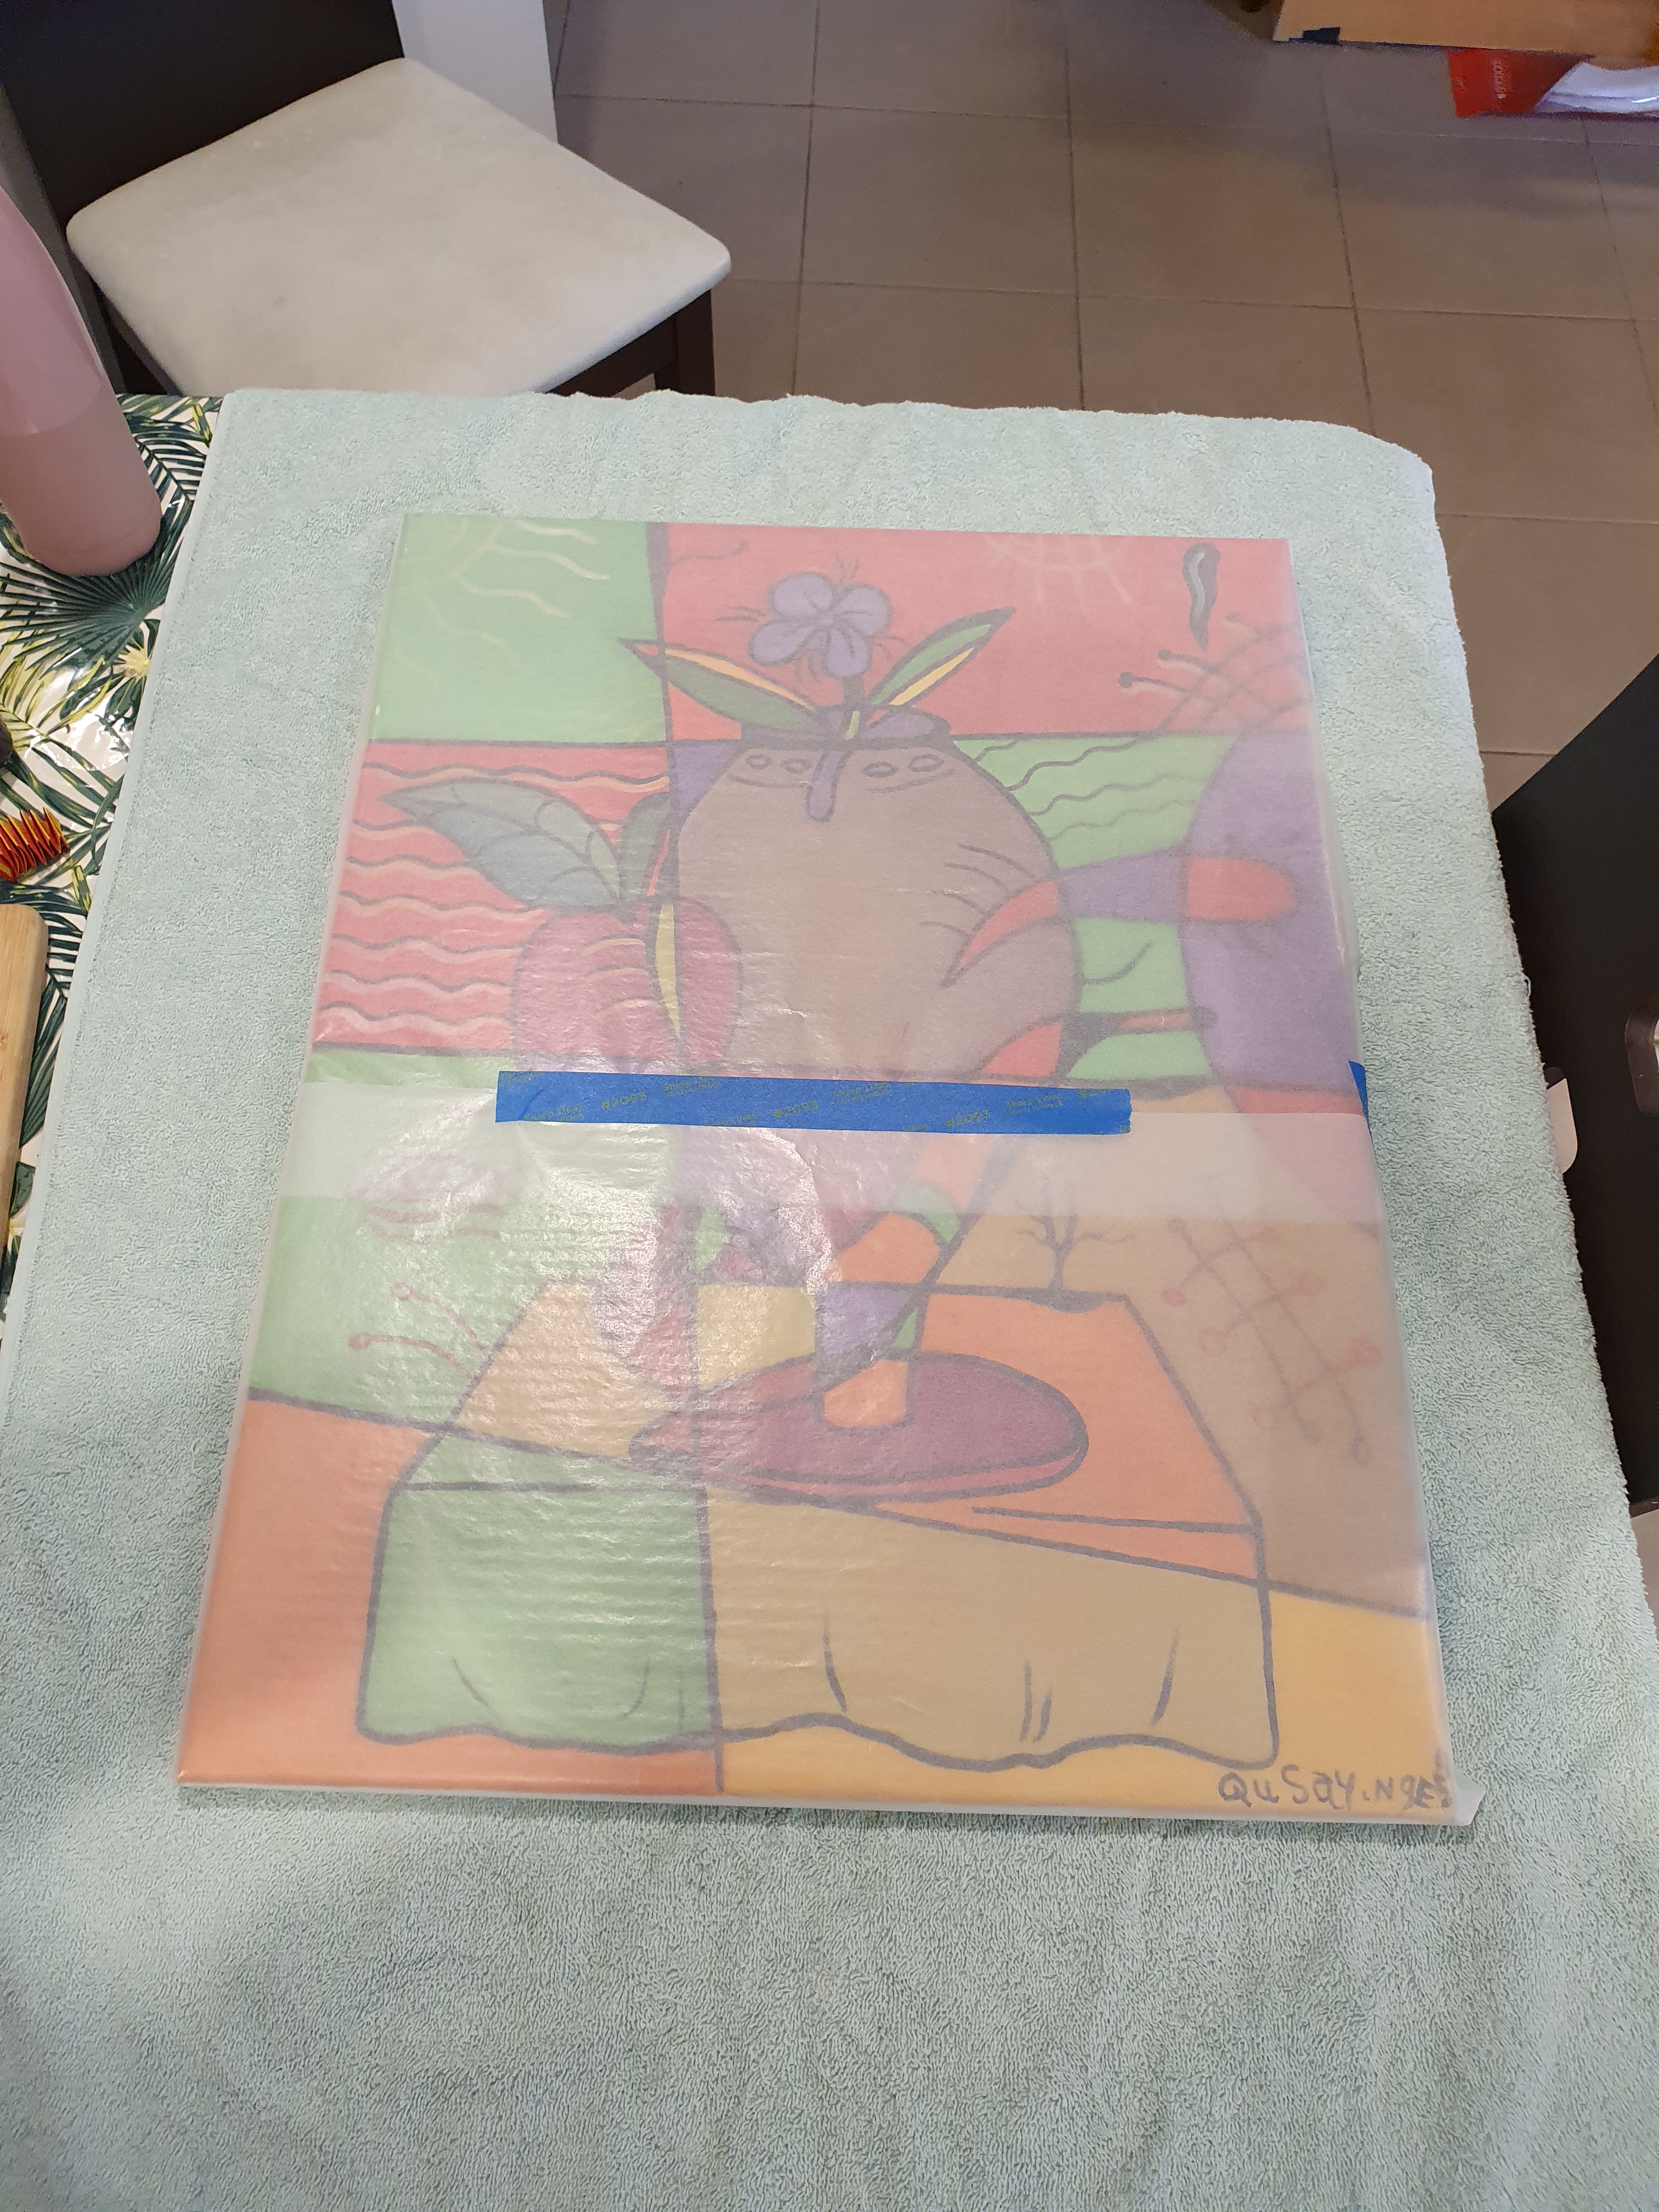
Here’s the pretty pretty picture that has been sold to an acquaintance in Sydney for $300 + postage & packaging:

Step 1
Wrap it in glassine paper, secured with painter’s tape (the thinner blue tape, not the thicker painter’s packing tape).
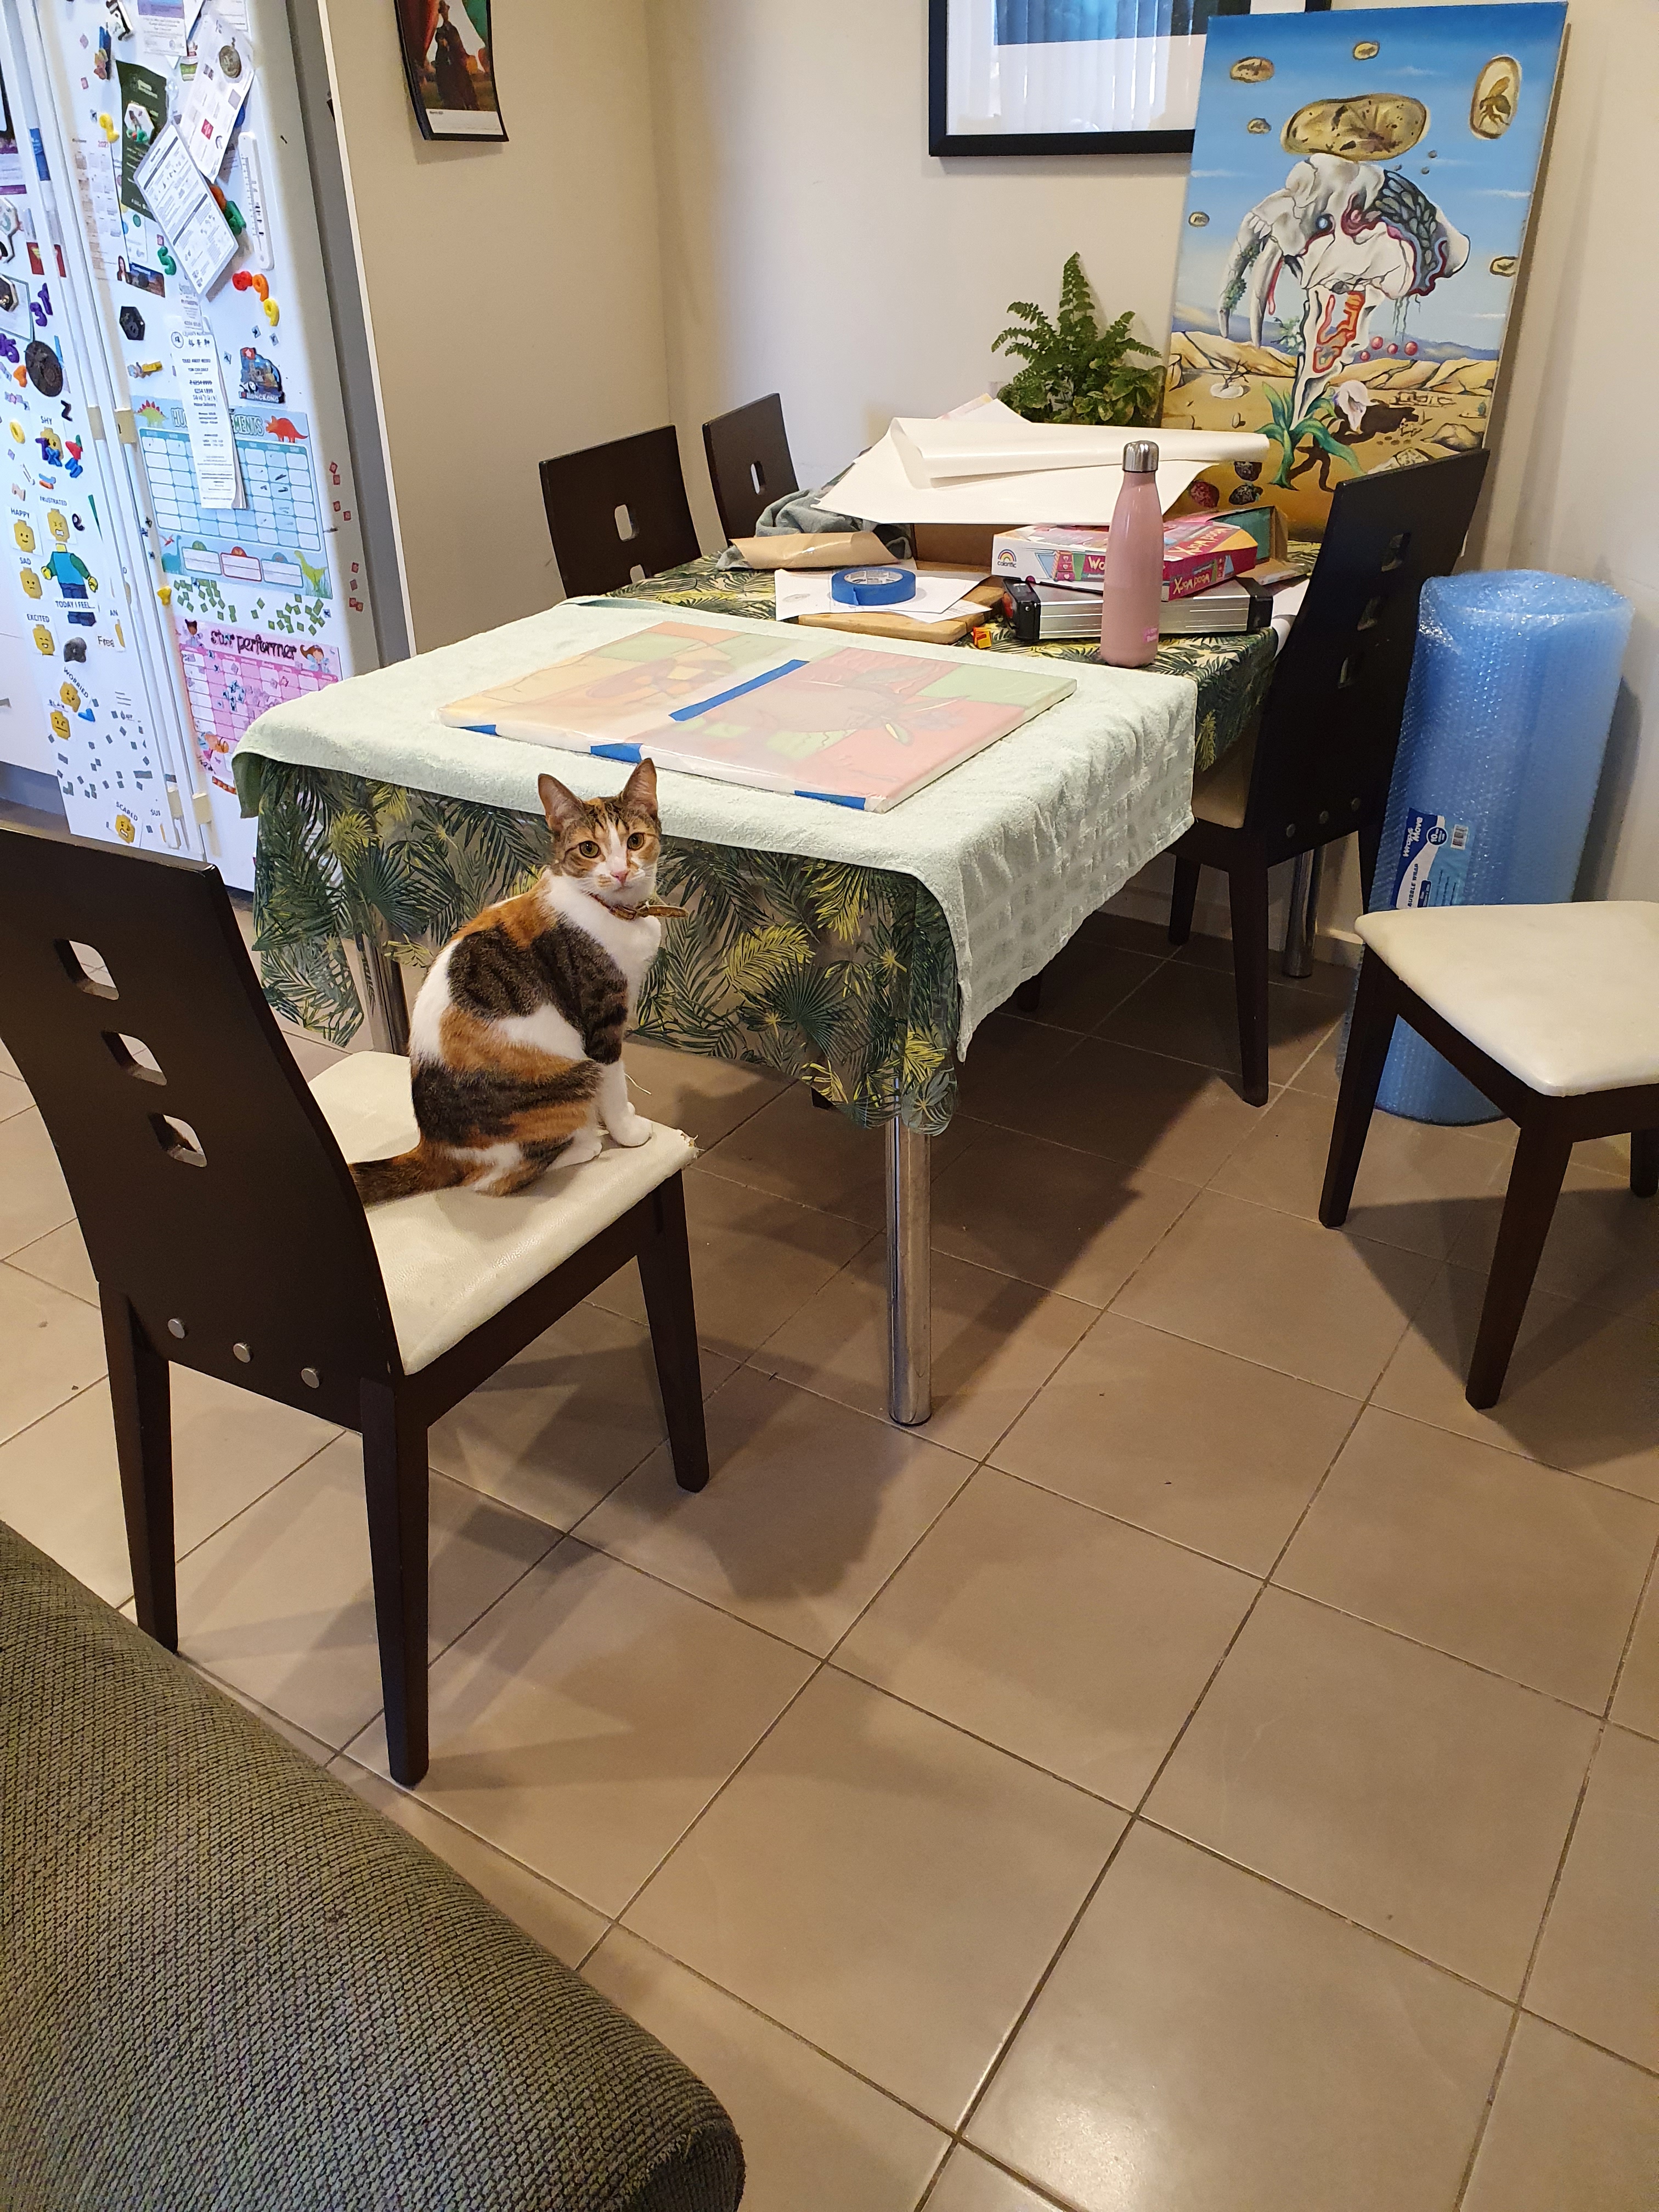
And now, let’s see that picture with a cat because the more protective I am of something, the more interesting it becomes to my local hoard of beclawed goblins. (Note to self: warn buyers that the house contains cats as they may suffer allergies.)
2. Cardboard Corners, THEN Bubble Wrap, THEN foam. Like a foam sandwich. I put foam first because I liked the neatness. I’ll do it right next time.

NOTE: Keep the ‘flat’ side of the bubble wrap inside, so you don’t get indentations of the bubbles on your painting.
Also, don’t wrap any of it too tightly. At any point.
3. After you’re made your bubble wrap and foam sandwich, wrap the whole sandwich in more bubble wrap. Multiple layers of the stuff.
4. Time to shape your box. I think you can get custom boxes but either way there’ll be adjustment to do. It’s best to buy new boxes; they’re both prettier and stronger. I used the scissor handle to indent where I wanted new folds to go.

5. Fill in any gaps in your box with more bubble wrap, and reinforce every edge and seam with Painter’s packing tape (the clear stuff—it’s stronger than the blue painter’s tape).
6. Put fragile stickers on both sides.

So that cost $45, including two crazy expensive pieces of foam.
Tomorrow, I take it to the post office. My guess is that it’ll cost another $50 to post.
Edit: It cost $40 to post, including registering it and insuring it for $300.


Neil@kallaroo said,
March 15, 2021 at 10:21 pm
Can you get insurance for the post?
Felicity Banks said,
March 23, 2021 at 10:36 am
Yup.
Felicity Banks said,
March 23, 2021 at 10:37 am
The parcel arrived safe, secure, and beautiful. The customer told me it took her 15 minutes to unpack it 😉