DIY Cat Enclosure, Part 4
Here’s Part 1, Part 2, and Part 3.
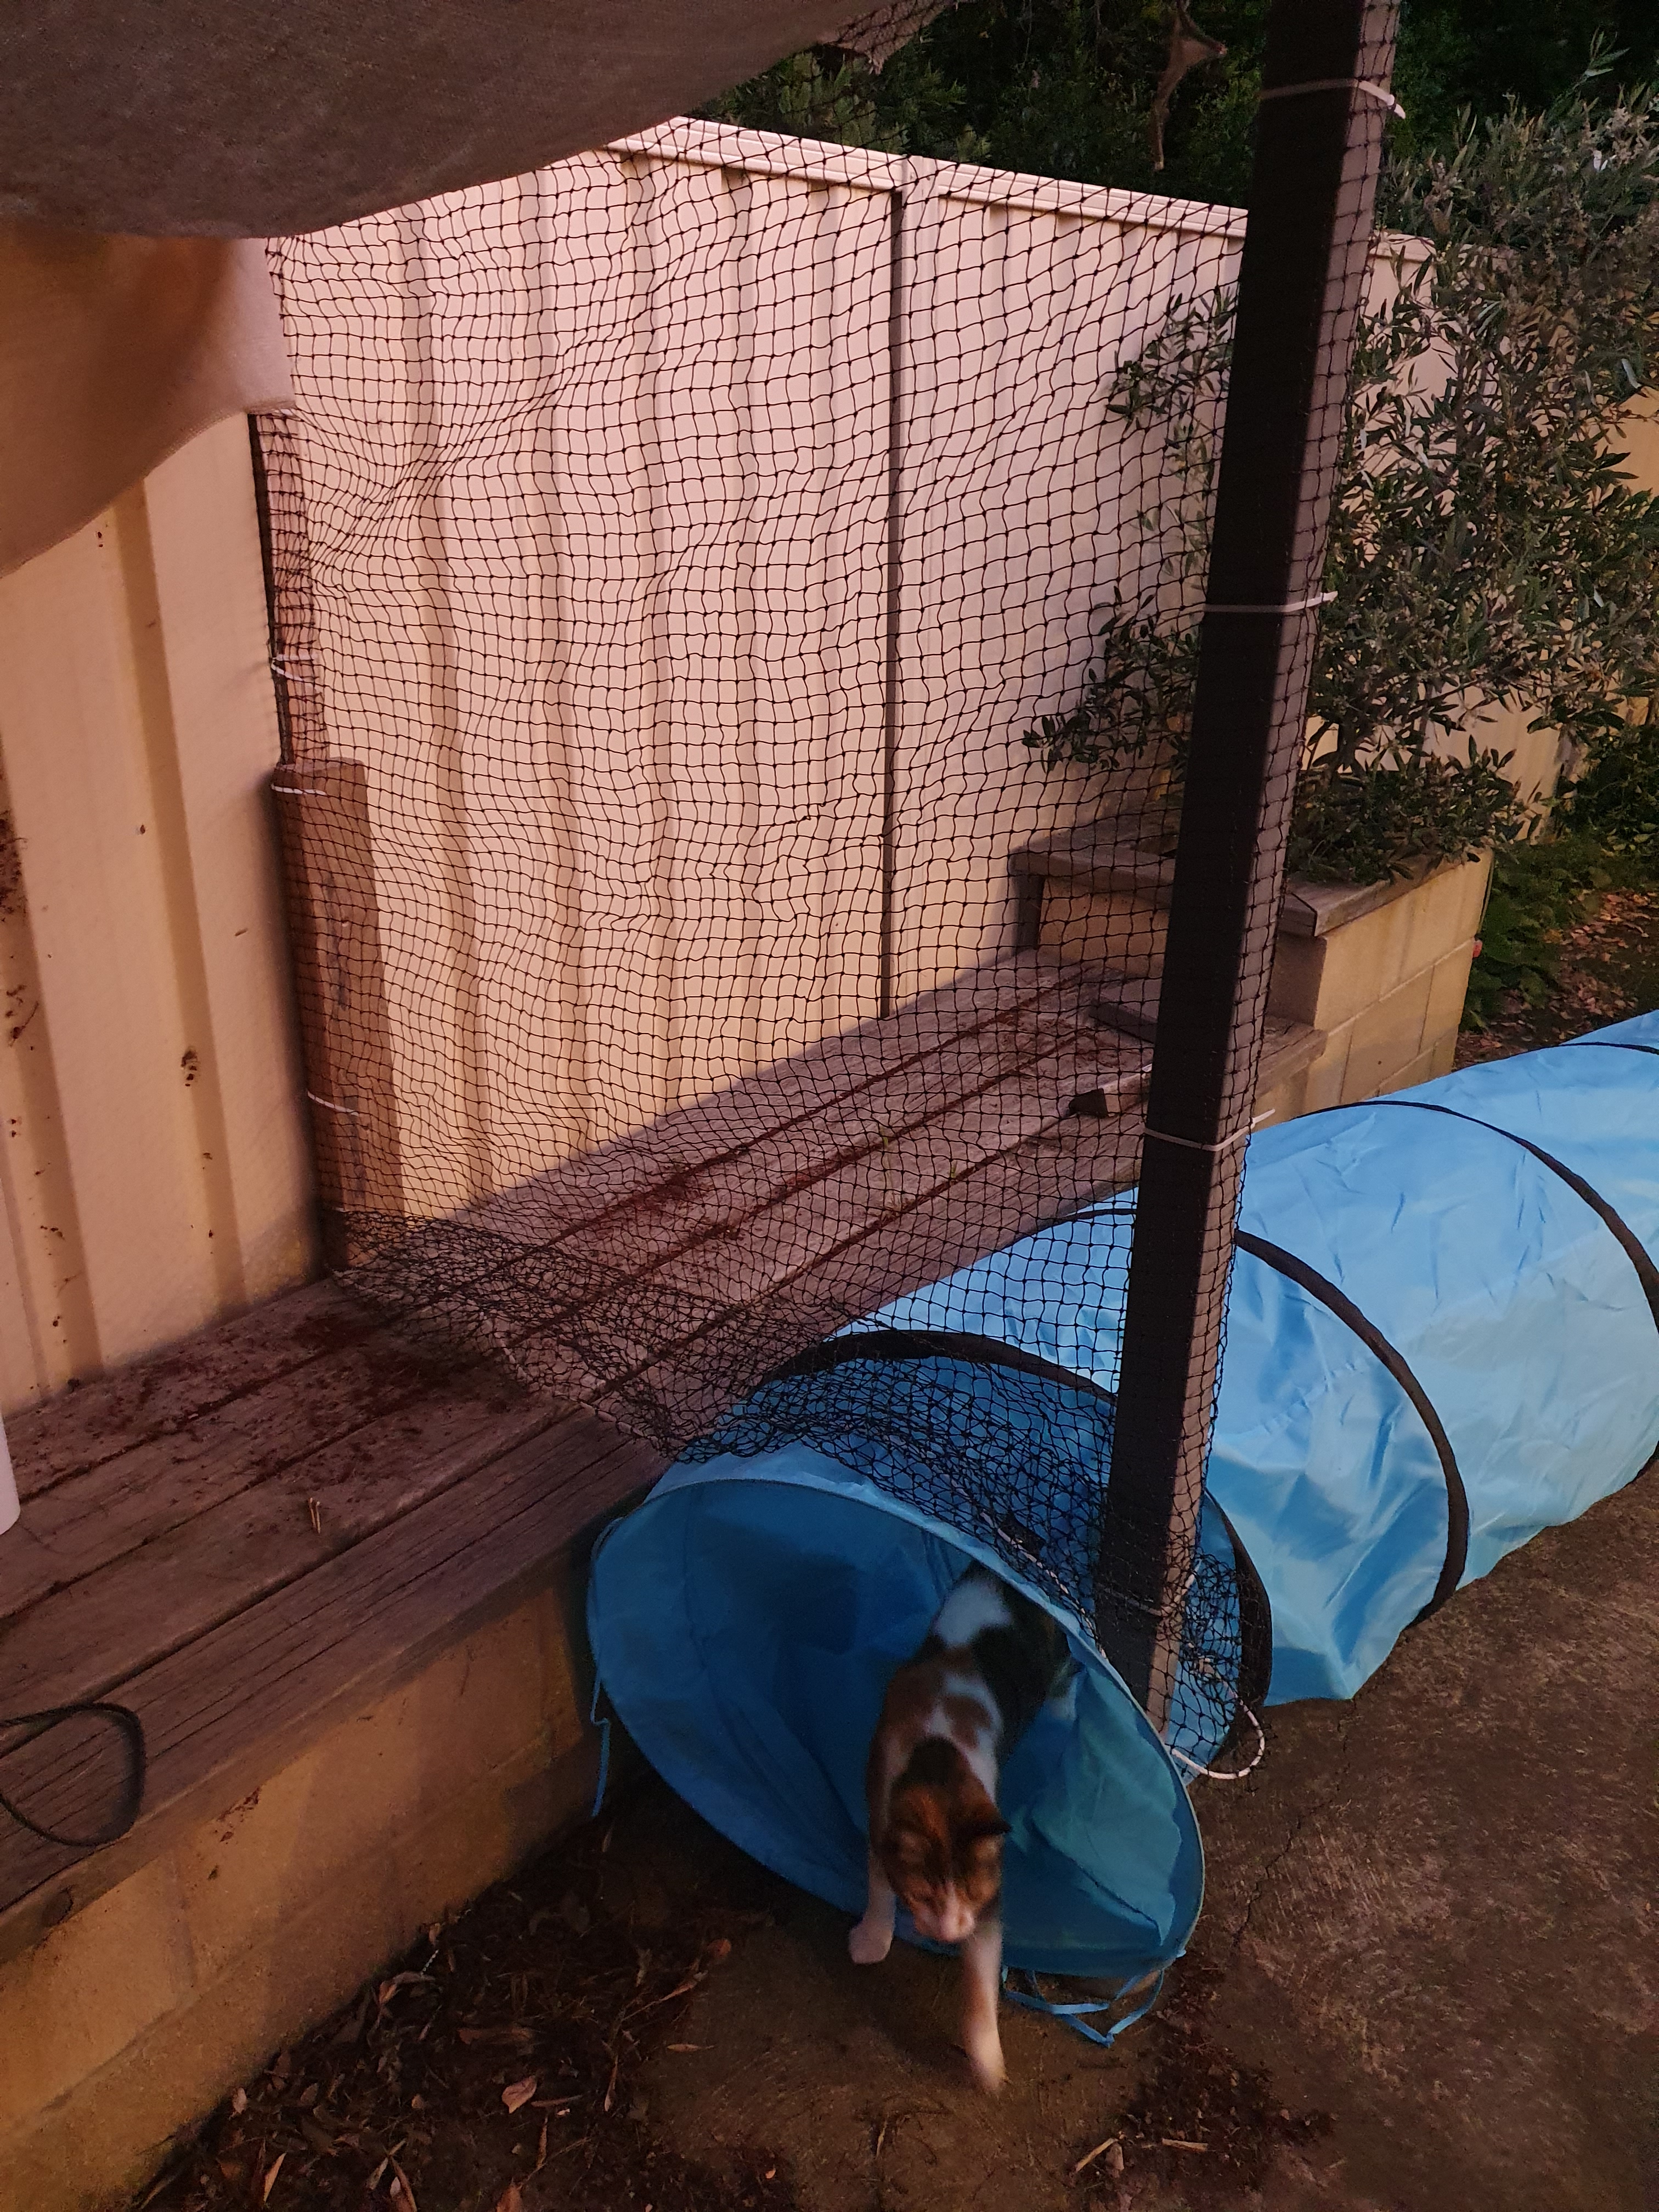
I can’t remember if I blogged about the second small section of mesh that Chris put up. If I didn’t, here’s a pic, featuring a blurry Zoom. As you can see, one of the cat tunnels is incorporated in the mesh.
It is 2023, yay! As a public servant, Chris gets a ‘free’ holiday between Christmas and New Year’s every year. I eyed the coming holiday with a great deal of nervous excitement. This, clearly, was our time to get more of the cat run done!
Amazing, we actually did. Chris put together the greenhouse (bought purely because it was relatively cheap, see-through, and enclosed—ideal for watching cats playing). Here is Buttons investigating it, since he is the only cat currently in our household who doesn’t assume that anything designed for him is clearly some kind of trap.

I’ll put more cat toys and stuff in it soon. The cat tunnel (same one that’s attached to the most recent small mesh segment in the gazebo) is tied into place, and will eventually be tied more securely (and the plastic door of the greenhouse will be closed) but for now it’s open so the cats can explore the greenhouse and get used to it when I’m not looking.
During the same holidays, Chris put a BIG section of mesh up. Here is Zipper pretending to ignore it from one side.
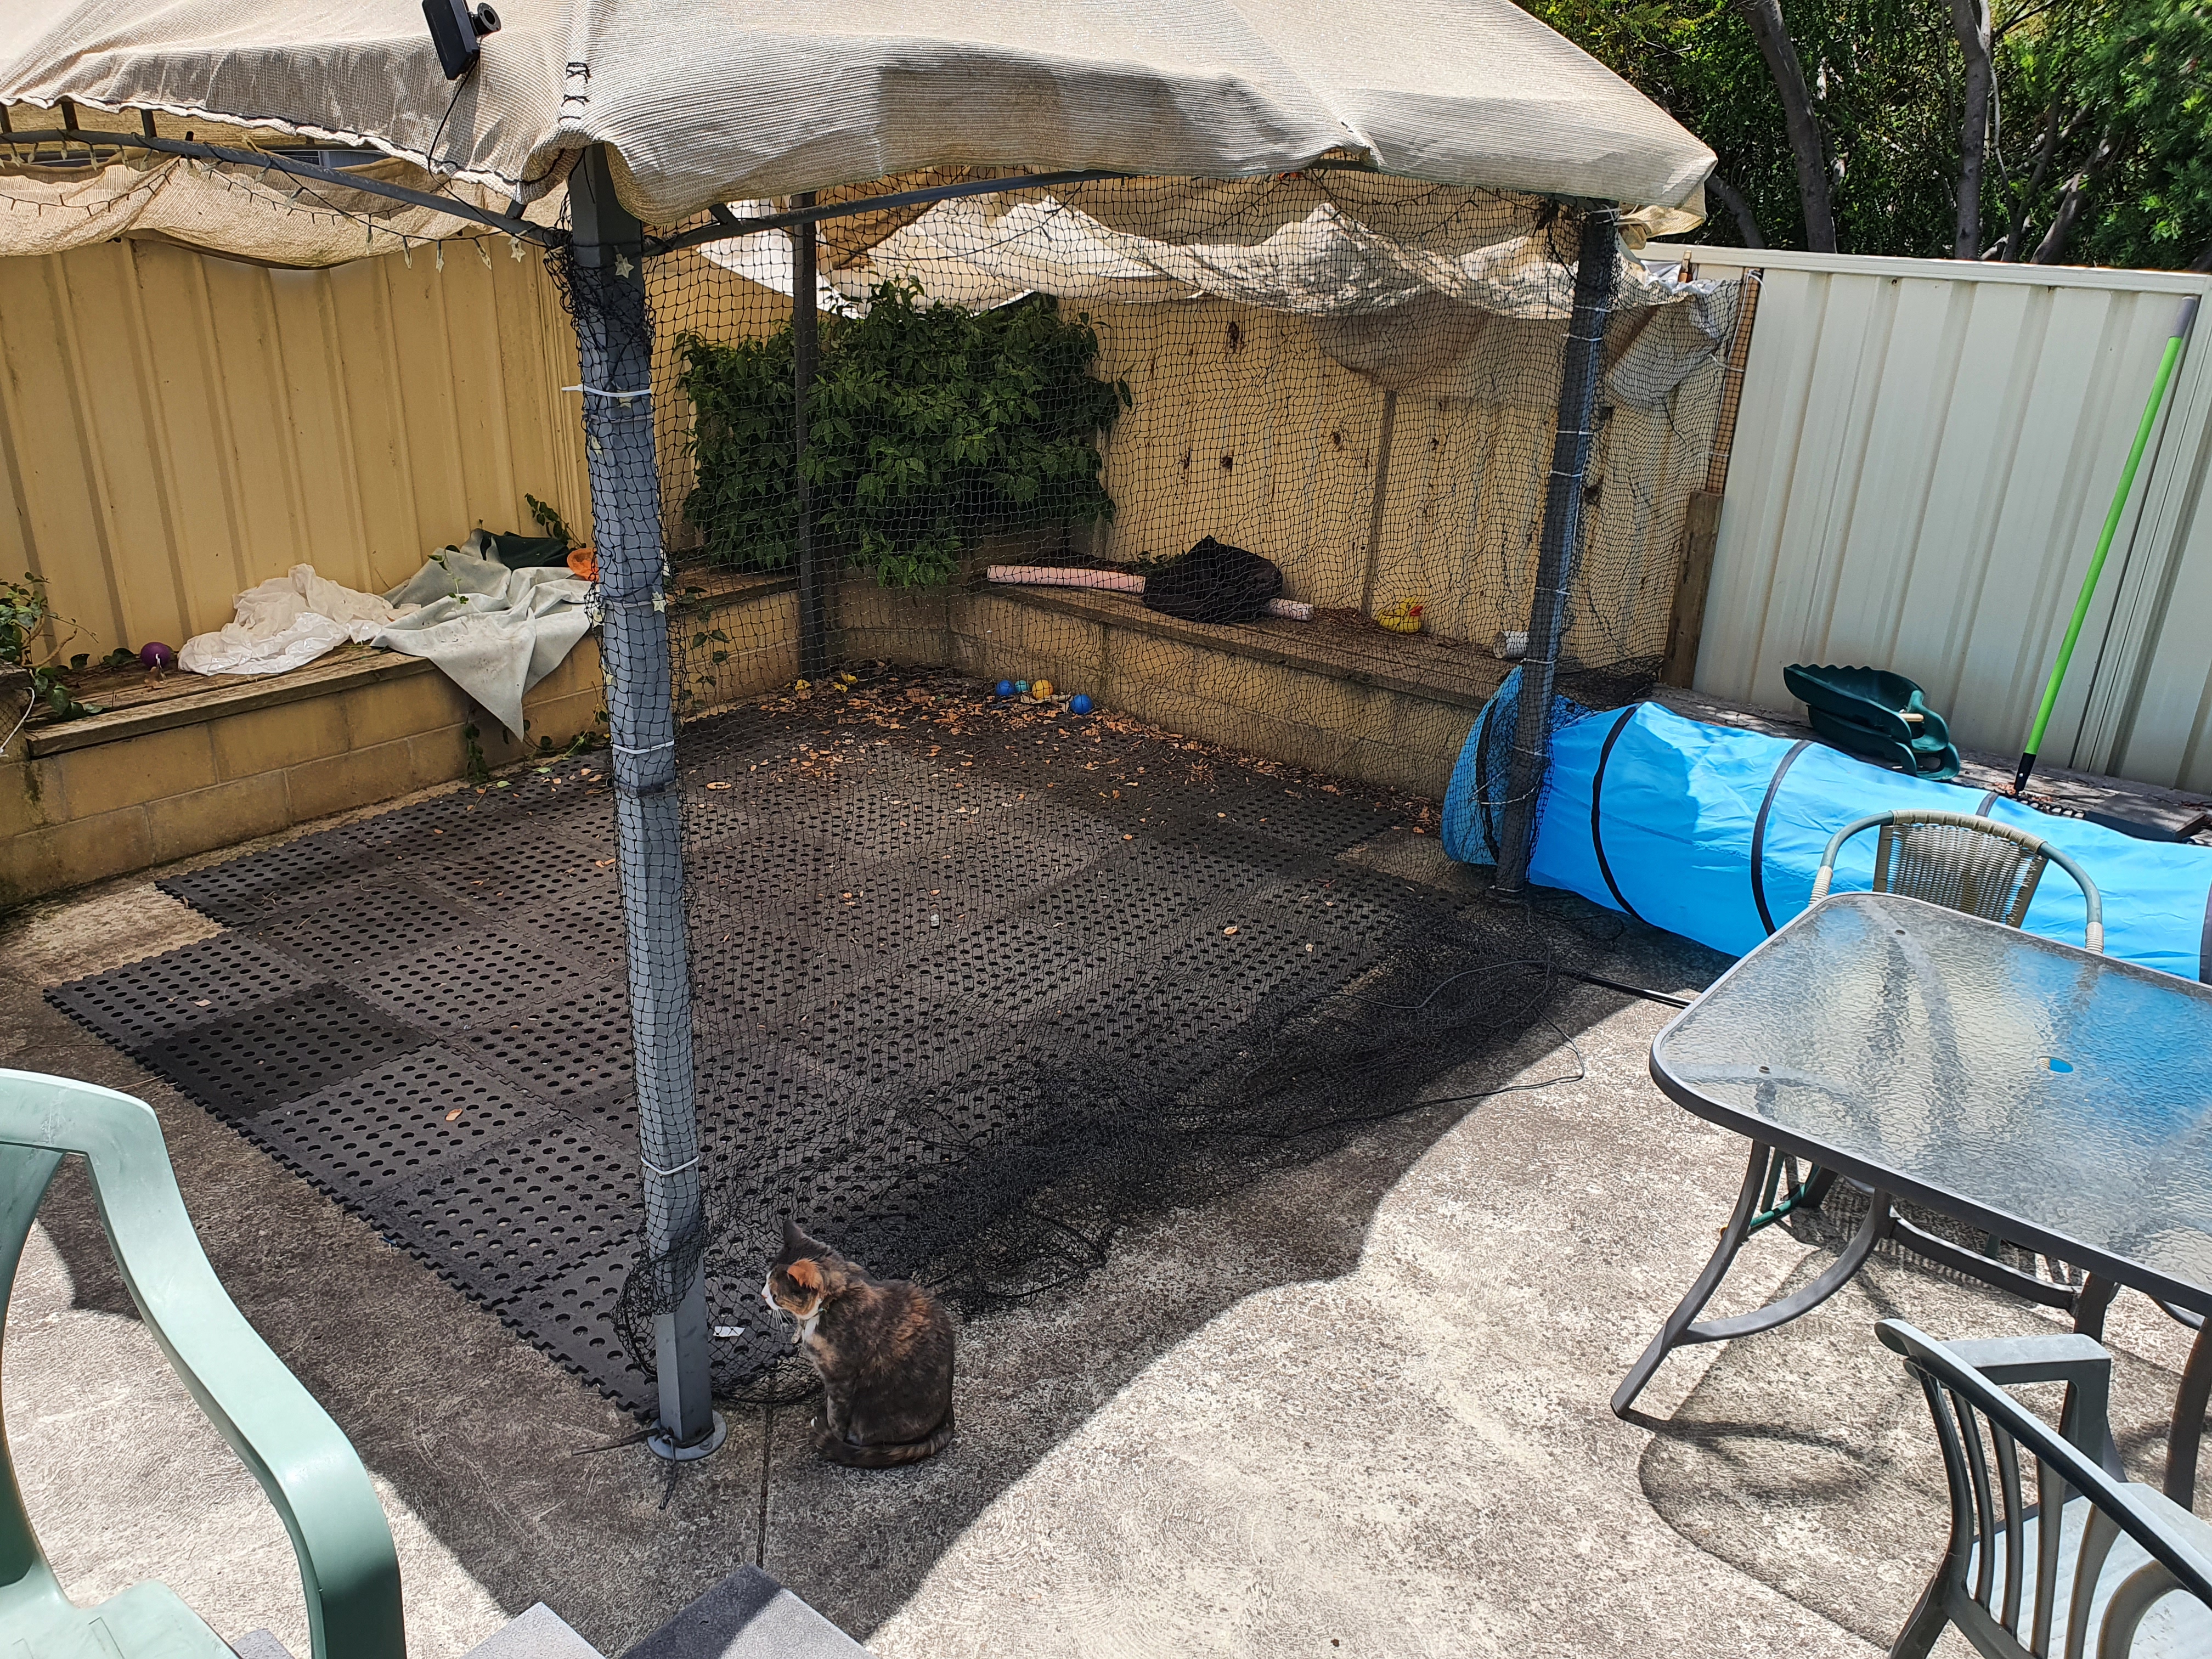
And here she is pretending to ignore it from the other side:
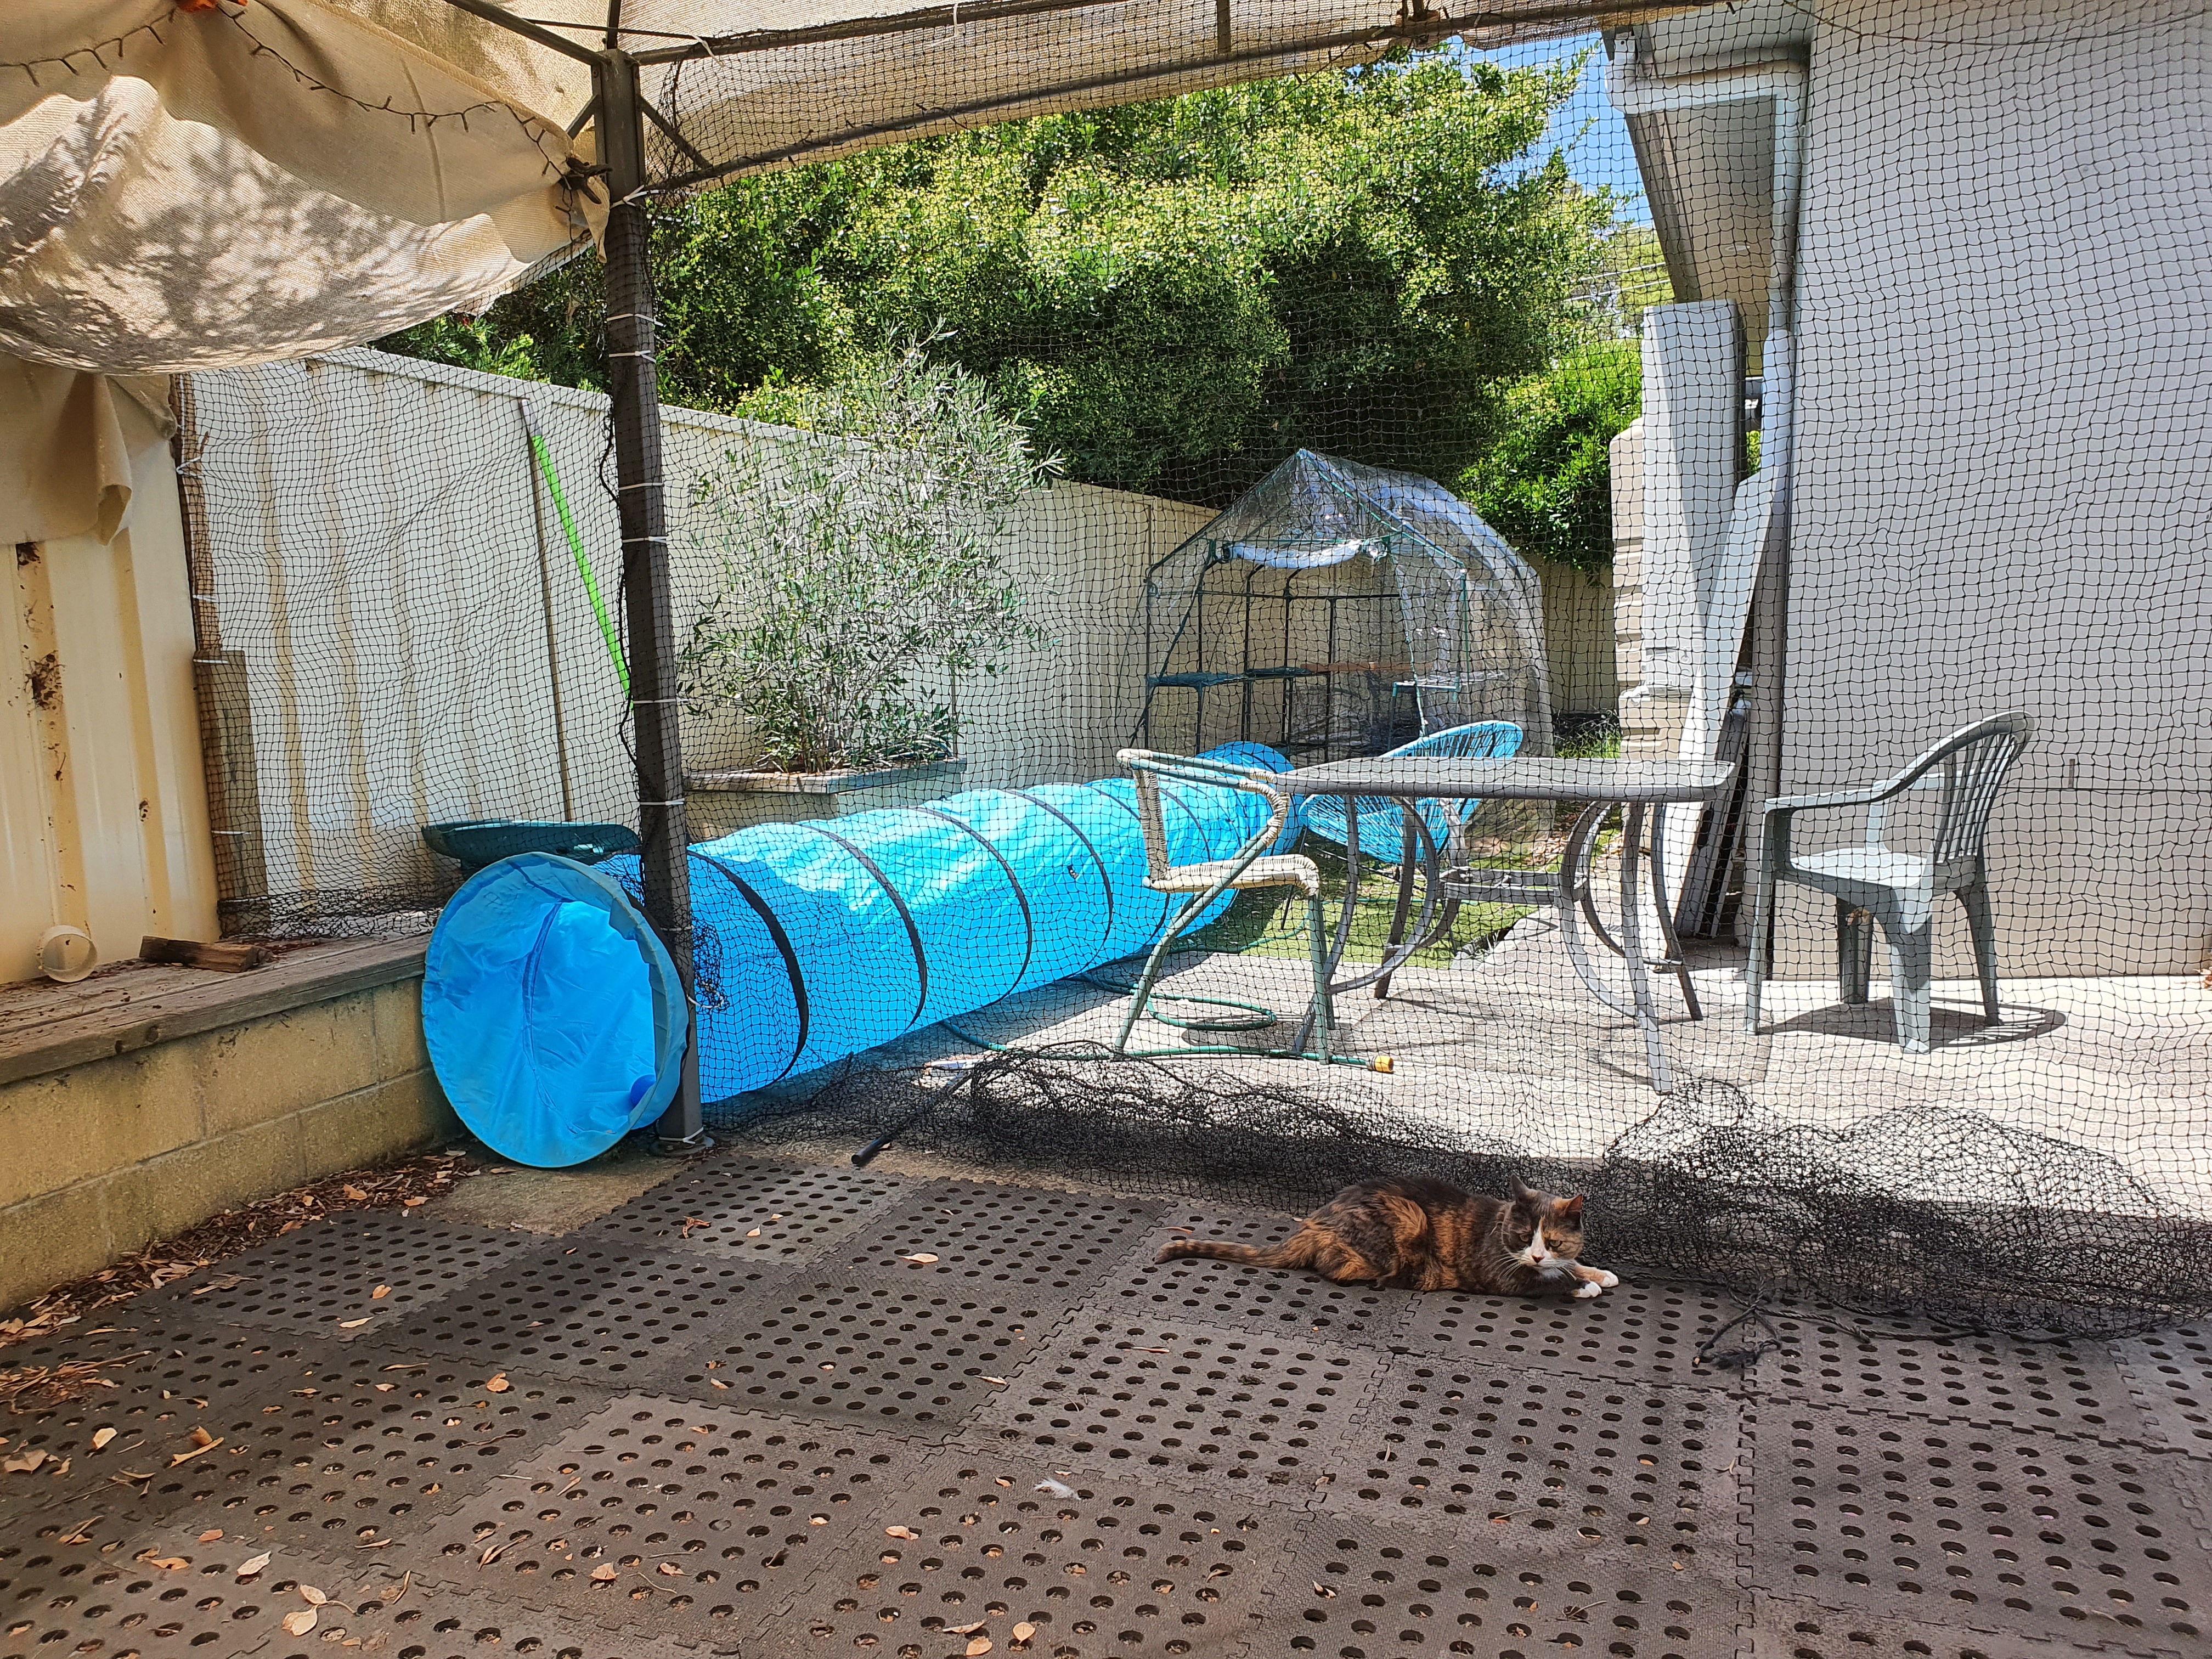
Either brilliantly, lazily, or both, Chris chose not to trim the bottom edge of the netting on this section. The tangled mass of it works as a lower boundary, and some friends have said they have some cat netting that won’t be useful at their place, so hopefully we’ll be able to just leave it like that (and use the new stack of netting for the final gazebo section).
(In other news, Zipper and Zoom are going to be SO ANGRY when the cat run is finished and they’re fully enclosed.)
The original cat tunnel, which is firmly attached to our cat door, has had its loose end flailing about wildly for some months now, and part of the wire has come out. I realised during the holidays that we already had a tarp-covered table that might as well become part of the cat run, so I tied the loose end of that tunnel to the table, and placed the table by the wall. That will hopefully anchor the whole of Cat Tunnel #1 to the wall, making the rest of the yard more convenient for humans.
So here’s the ultimate plan and current status:
Cat door–> Tunnel #1 –> tarp-covered table = Section 1
1.5 metre gap between Section 1 and gazebo (the gap may get filled with the trampoline at some point, or that may be too finicky). This is Gap #1.
Gazebo: It has a shade-cloth roof; more shade-cloth is clipped to the fence to extend the roof on two sides. The small vertical gaps on two sides are both covered in custom mesh panels; one of which has Tunnel #2 leading out of it. One large side is also completely covered in mesh. One large side (the side facing Section #1) is still completely open.
Tunnel #2 leads from the gazebo to the greenhouse, although it is not properly enclosed at the greenhouse end.
There is a large/long gap between the greenhouse and the shed. It will probably take two cat tunnels, at $59 each. This is Gap #2.
The shed aka the cats’ toilet, is set up and in its rightful place, with a cat-sized hole cut in the door. The door is still standing open in order to make it as easy as possible to use.
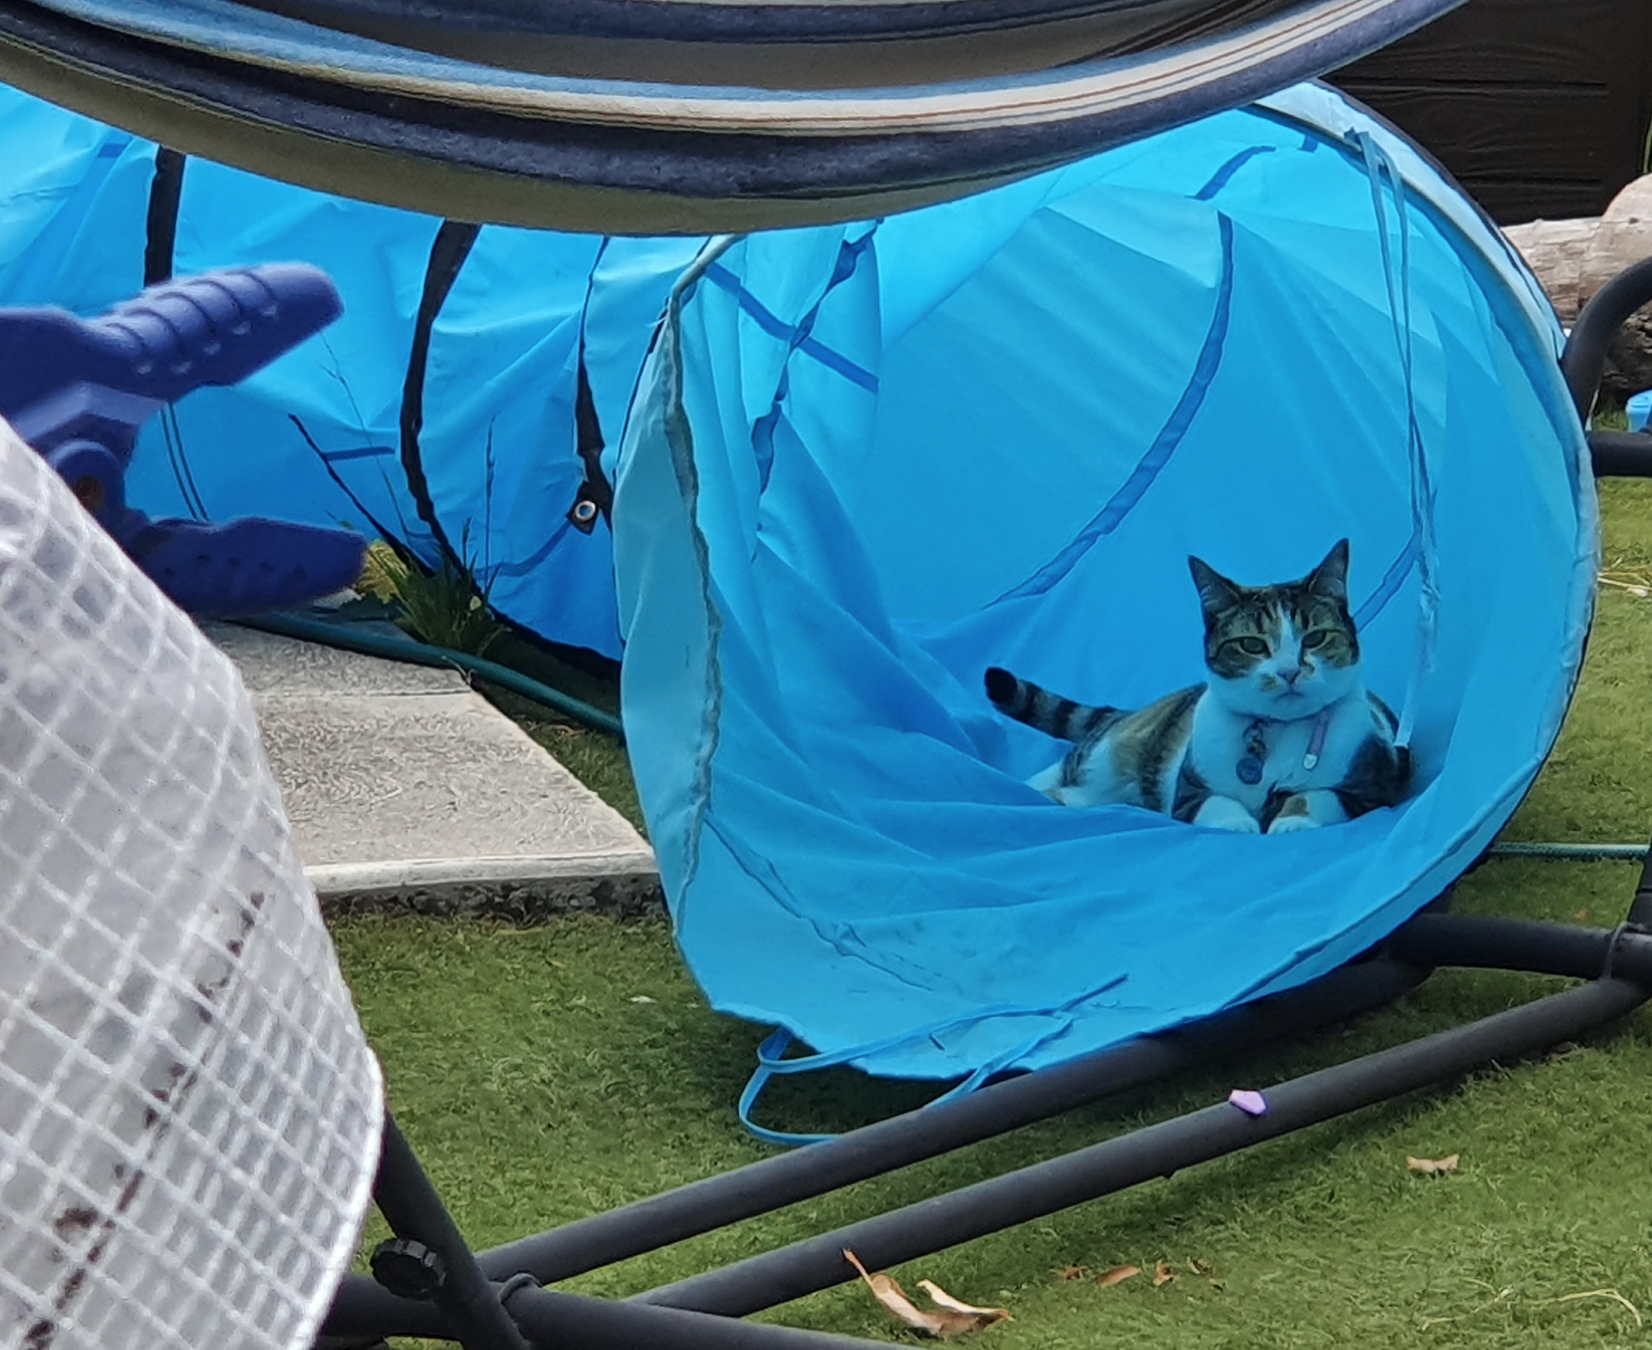
I’m still liking the (rather expensive and rather large) cat tunnels we bought. I’ve observed both cats relaxing in them, so they clearly like them too.
Gap #1 is by far the most complex, because we need to have some kind of human door to get in and out of the gazebo. I have several pieces of scrap wood that are likely to get involved somehow.
Lizzie’s having her birthday at our house this month, so it’s unlikely we’ll do anything else until after that, because whatever door we end up making for the gazebo won’t be as convenient for a bunch of 11 year-olds as an open side.
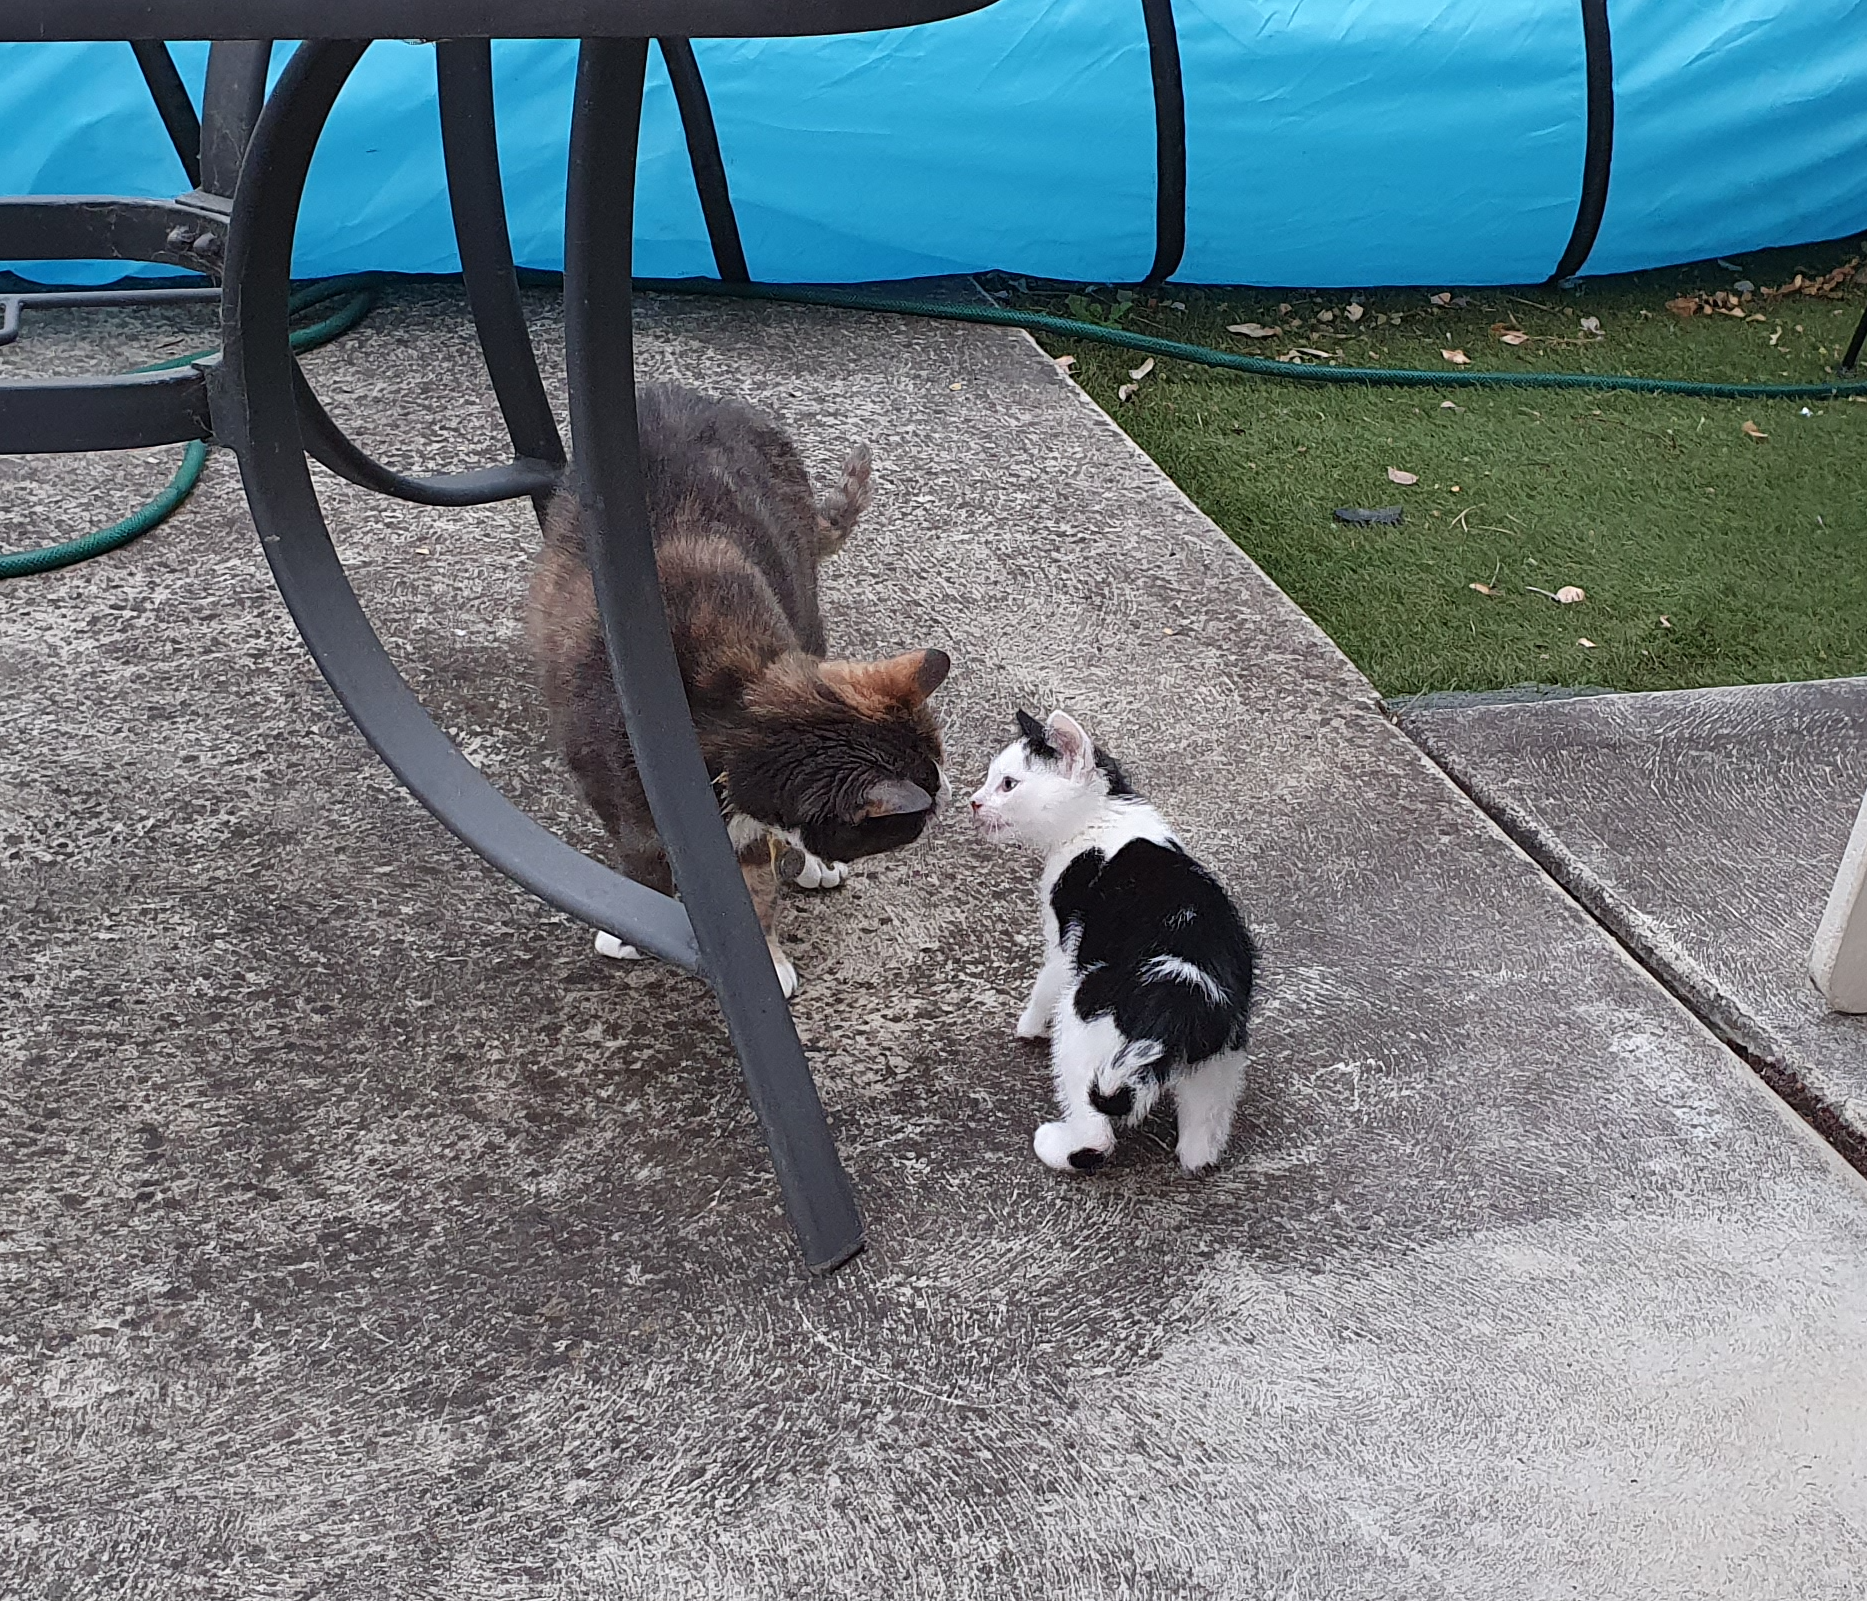
Bonus picture of Buttons and Zipper.


Leave a comment