DIY Cat Enclosure
Roughly fifteen years ago—before I met Chris—I gained a kitten, and solemnly promised that, since she had a white nose (making her vulnerable to cancer) I would get a cat enclosure as soon as I could.
This is that cat, Princess Ana, when Lizzie was a toddler:

That cat died several years ago (and not of cancer, which makes me feel a little better about my promise). But I never forgot my promise.
These are our current cats, Zipper and Zoom. Zipper tends to look cranky, and Zoom tends to look aggressively innocent. They’re not related. Once you go calico, you can’t go back.
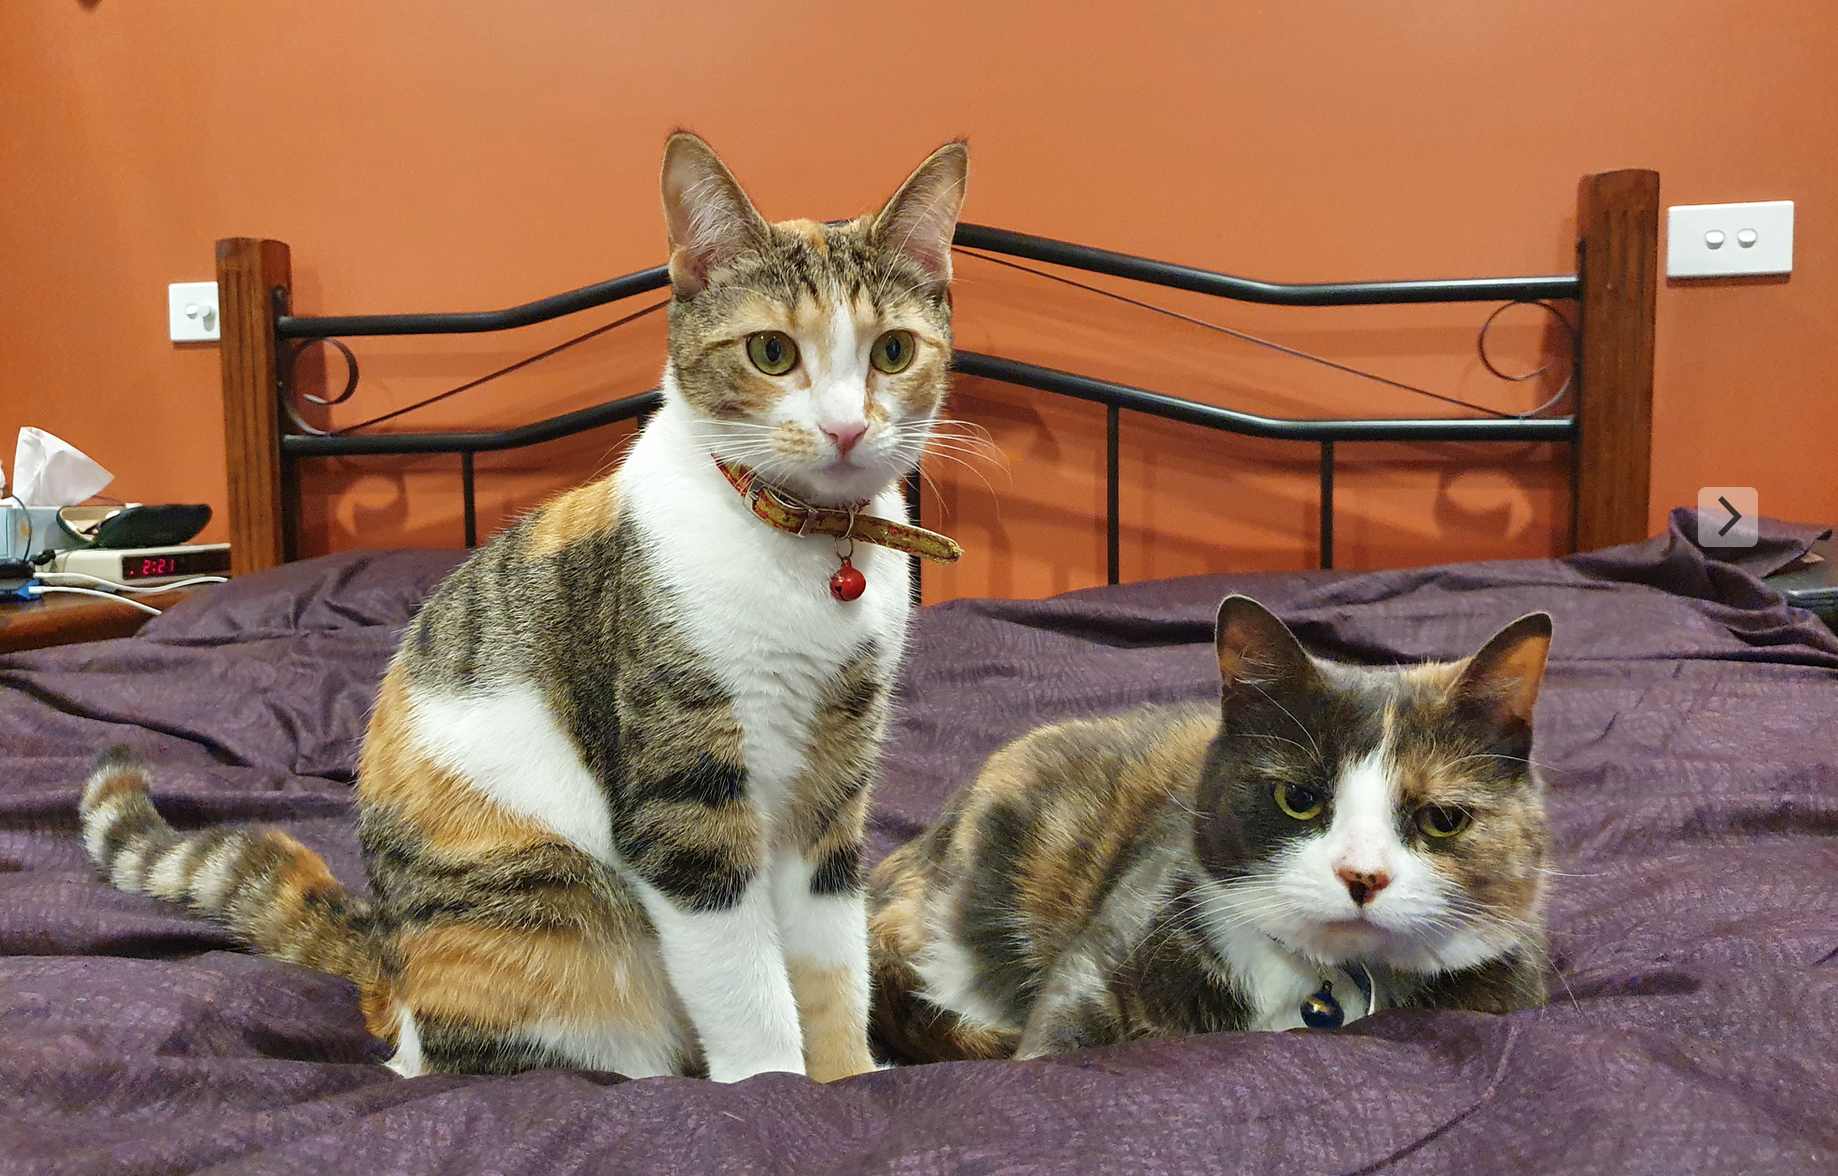
As you can see, they also have white noses.
During Term 3 of this year, I took on a temporary job that pushed my health far beyond what is safe—confirming that I should NOT be doing more than about 6 hours of paid work per week, and also giving us a brief period where we could buy a few things that weren’t immediately necessary for survival.
So we bought/gained:
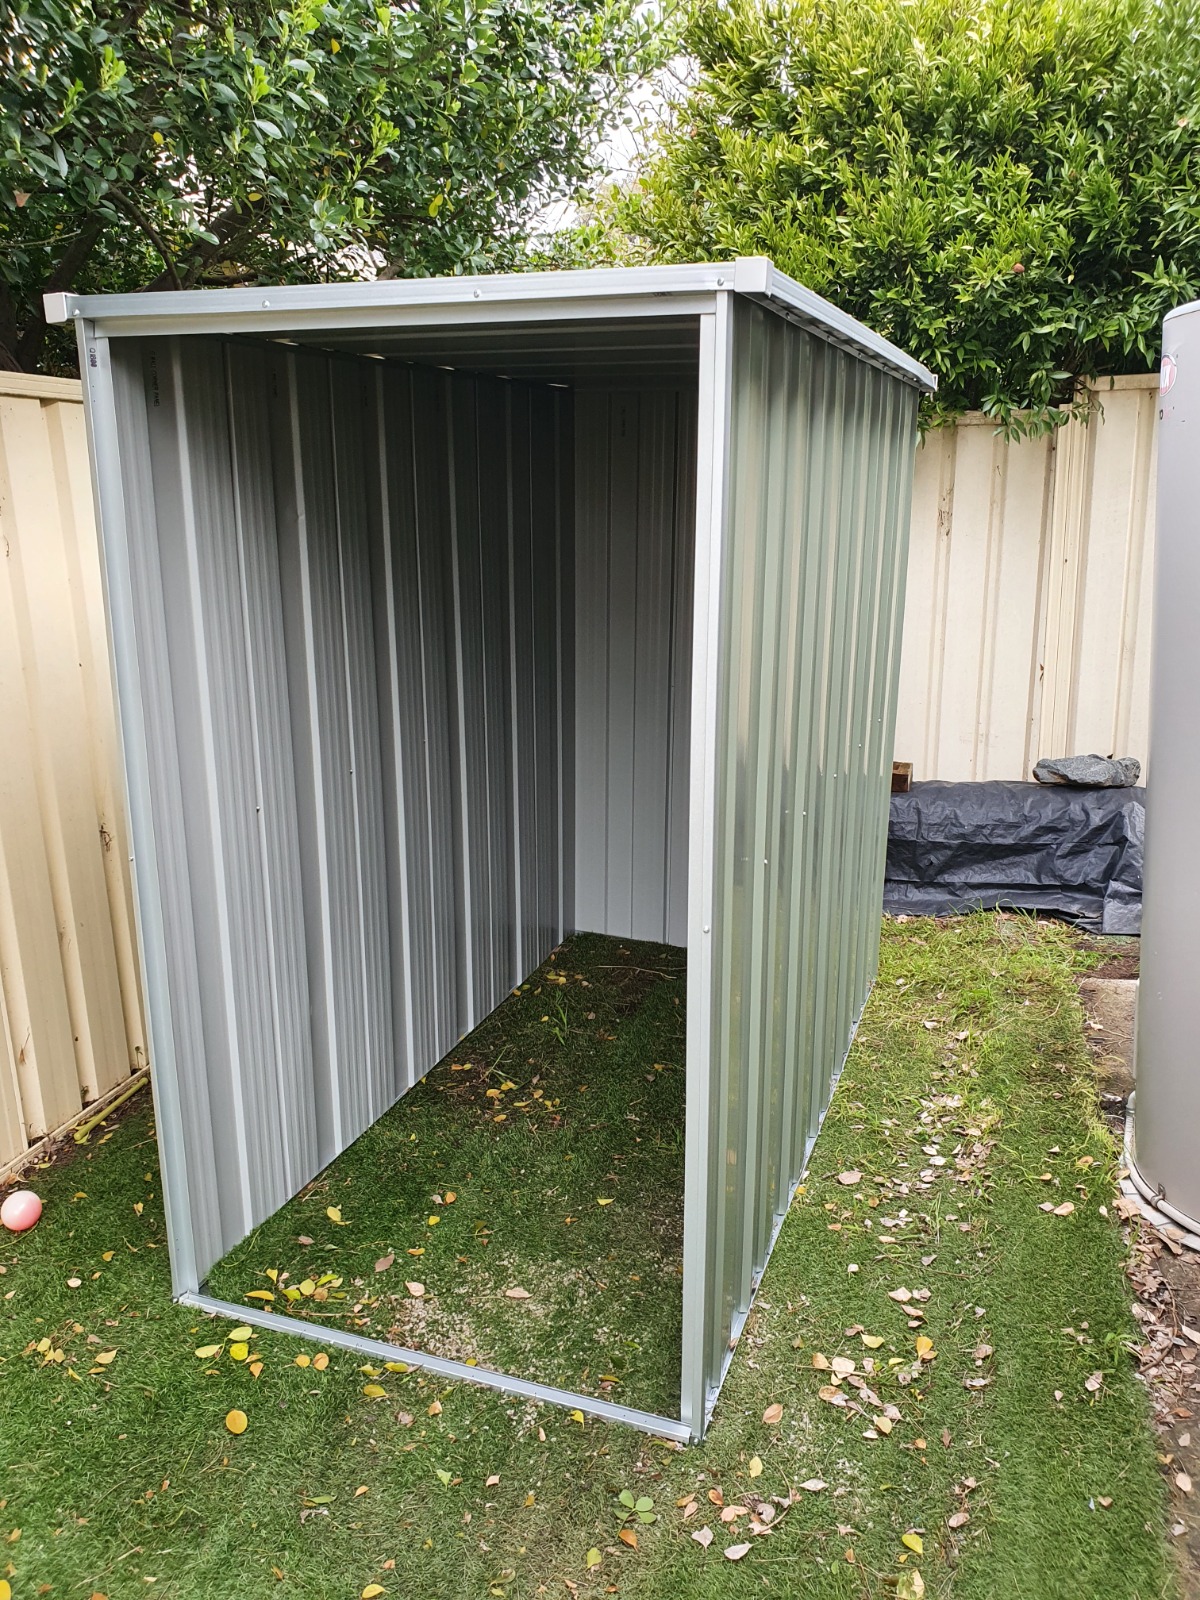
A very narrow shed for $500.
A greenhouse for $250.
Two ‘outside pet tunnels’ for $60 each.
3m x 5m of really nice flexible netting, free from a friend (but definitely has chook poo on and in it).
Our own old trampoline, with a 1.8m diameter and high netting all around (plus shadecloth we clipped over the top years ago. The kids have very much outgrown it, but we didn’t manage to give it away so it shall be absorbed into this project.
These are the ingredients with which we shall try to put together a cat enclosure. We’ll probably need another cat tunnel, but we’ll see how far we can get.
Our yard is mostly an L shape; only about 3m wide on the longer side. At the end of the narrower side it continues on around the house (so SORT of a C-shape yard really), with a 1.12m-wide patch of bare dirt and weeds. We have strongly encouraged our cats to use it as a toilet, and they do (but of course also use the neighbours’ yards). We want to keep that area as a cat toilet, so that is what the shed is for: to ‘enclose’ the cats’ toilet while also giving us a teensy bit of extra storage (for items that we don’t mind smelling bad).
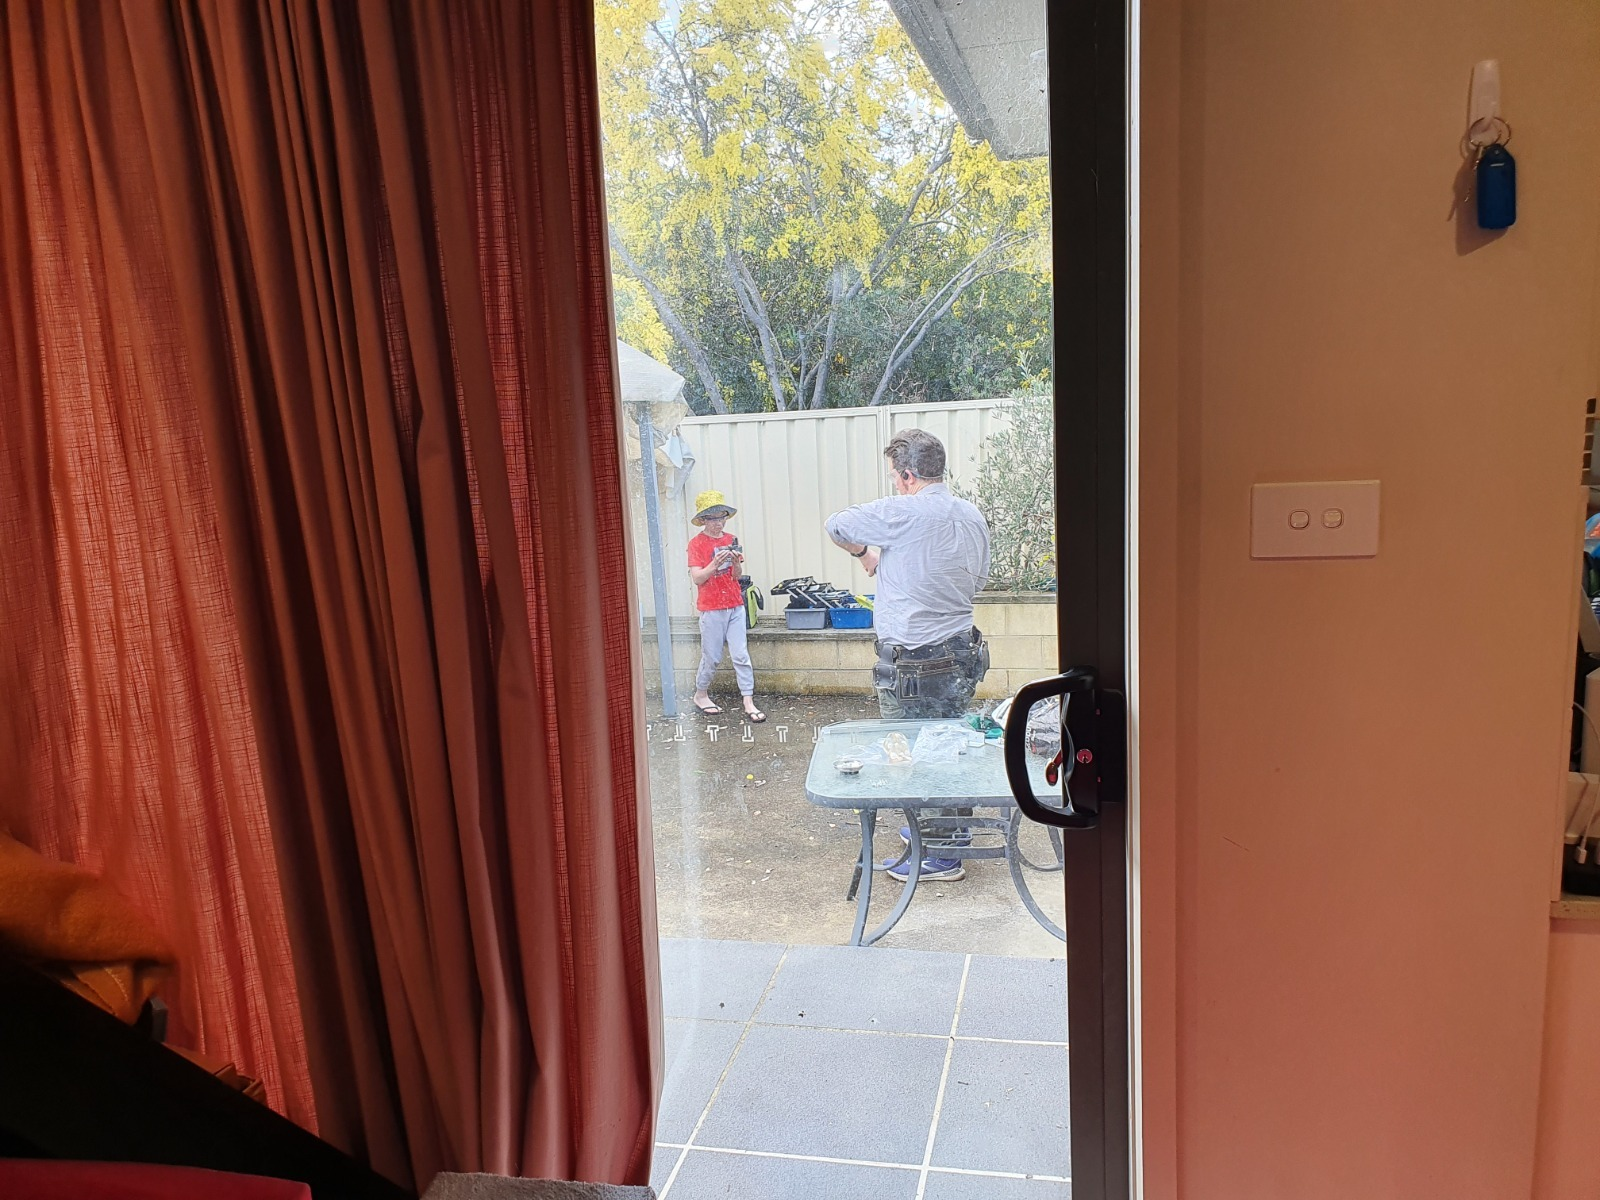
Rejoice with us, because after about 8 hours of work by two healthy and intelligent men, the “simple” shed now exists in the real world, complete with a cat ‘door’ cut into the metal shed door.
Tim also helped.
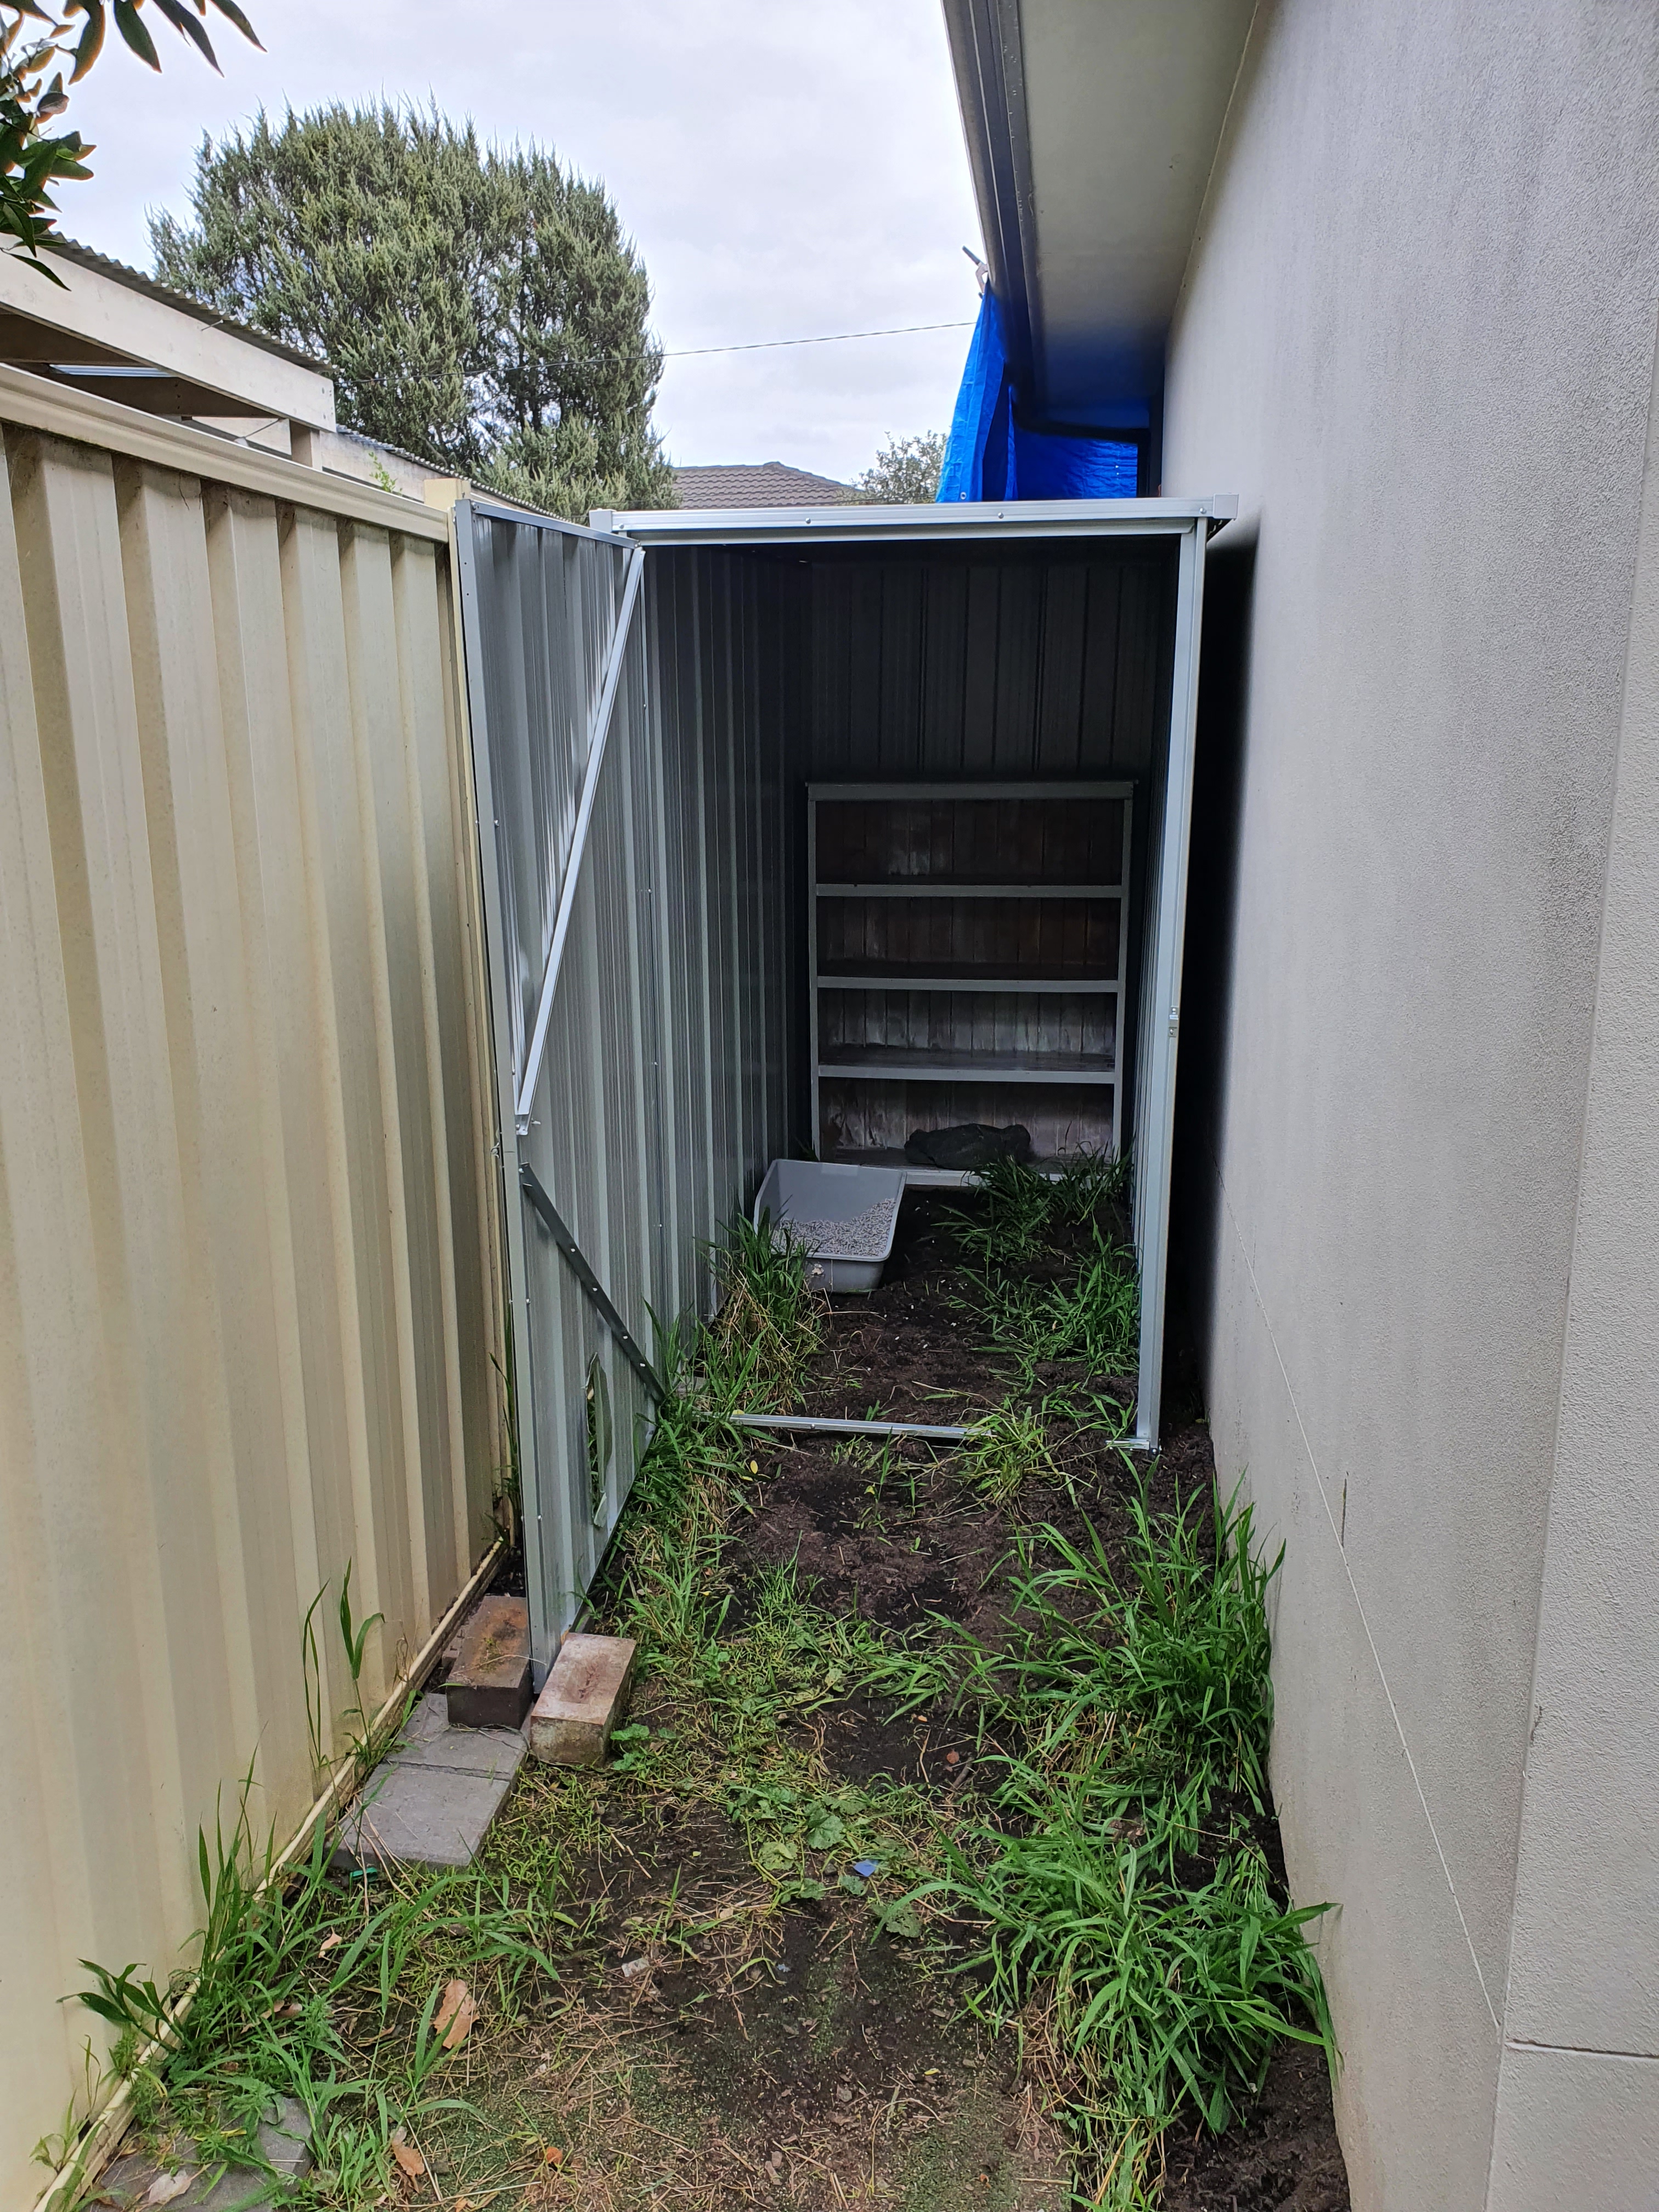
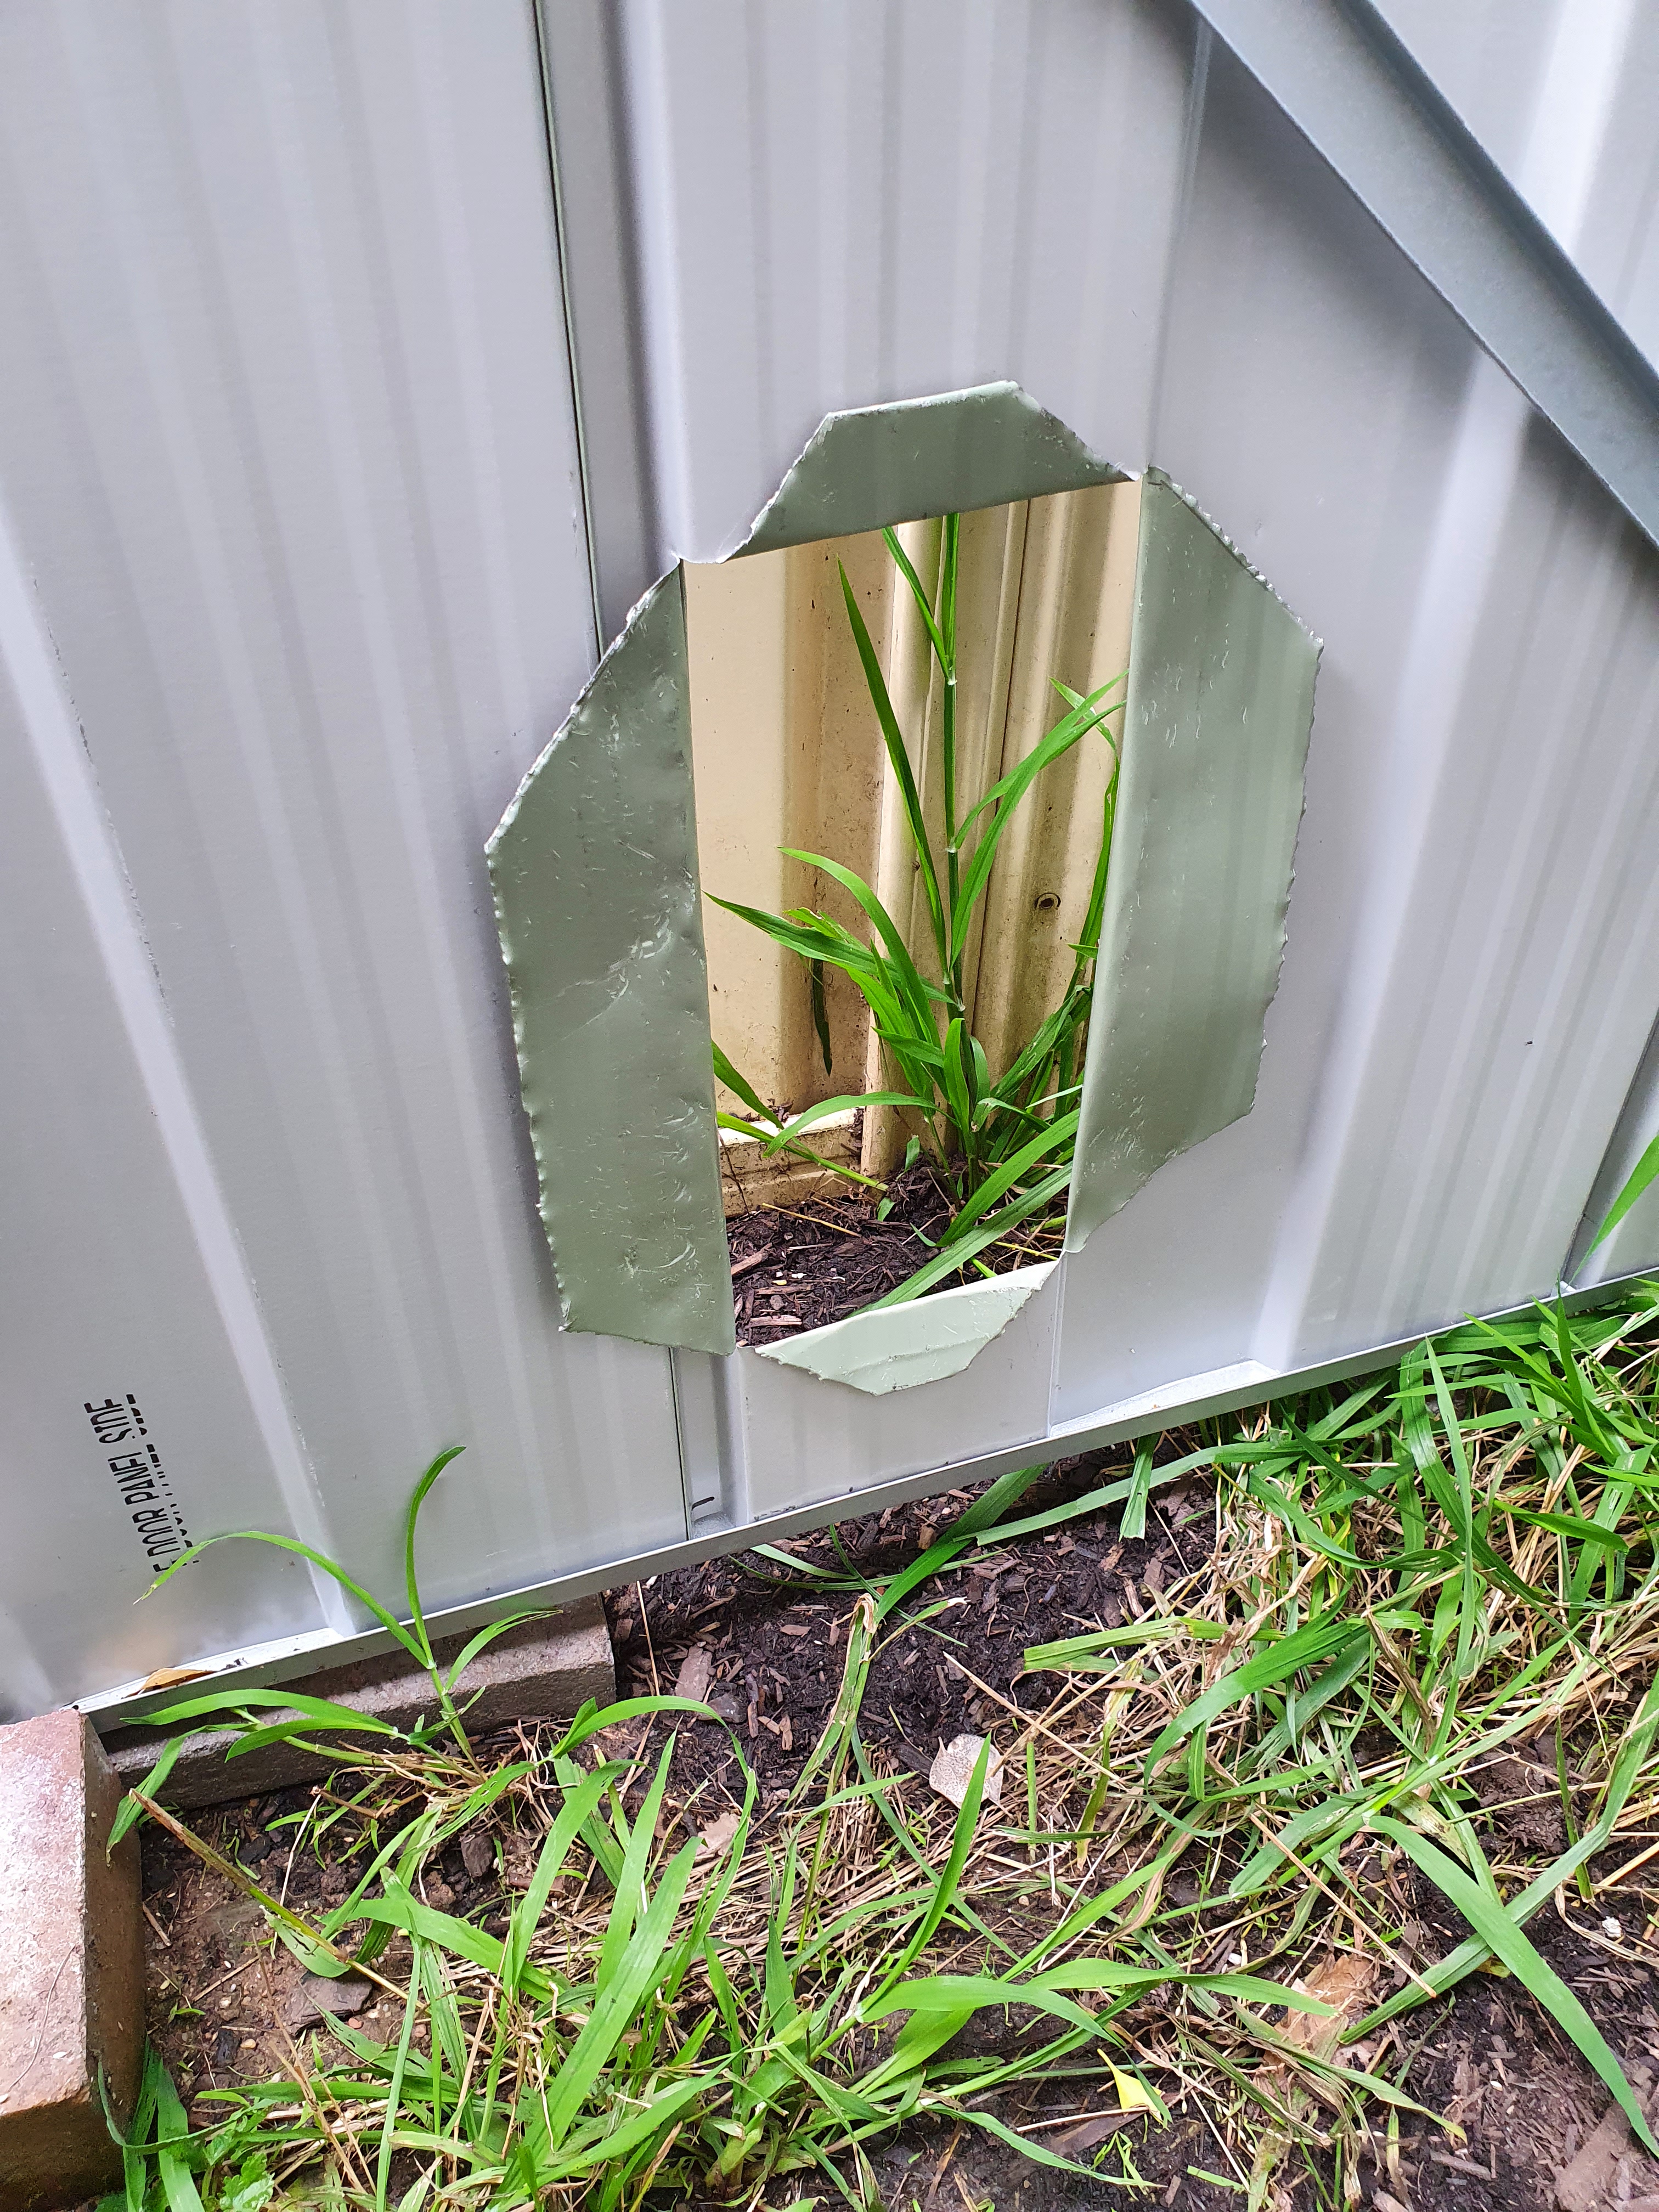
I’ve weeded a bit more since taking these photos. We’ll also tape up the sharp side of the cat door. (You’ll notice it can be folded back into place to almost ‘fix’ the door if that’s useful in future.)
For now, we have put normal kitty litter inside and done our best to let the cats know they’re allowed in there (Zoom is less skittish so we physically picked her up and put her inside; if we did that to Zipper she would swear an oath to never enter it again—but since Zoom has been inside, she knows she’s allowed). We are leaving the door open and letting them take their time getting used to it.
Eventually, we’ll close the main shed door and attach one end of a cat tunnel to the cat hole—but only when all the rest of the cat enclosure is done.
This was, hopefully, the most difficult part. It’s also the most rewarding, since it means we can continue to never deal with kitty litter.
Next step: Attaching one of the cat tunnels to our laundry door, which is where we have a proper cat flap—which means the cats will have to go through the tunnel to get in or out of the house (which will also let slightly outside air into the laundry, yay).
We’ll leave it open at the other end while they get used to it.


DIY Cat Enclosure, Part 2 | Felicity Banks said,
October 10, 2022 at 12:12 pm
[…] Part 1 is here. […]
DIY Cat Enclosure, Part 3 | Felicity Banks said,
November 7, 2022 at 7:20 pm
[…] 1 is here, and Part 2 is […]
DIY Cat Enclosure, Part 4 | Felicity Banks said,
January 4, 2023 at 11:02 am
[…] Part 1, Part 2, and Part […]